System Settings#
System Settings mainly include network and language Settings, as well as version updates to the system, safety controller firmware, time Settings, plug-in management, robot parameters (import/export of configuration files), cloud platform Settings, and factory Settings restoration. Click the user profile picture on the right of the status bar and choose System Settings. The system Settings page is displayed. The left side of the page is the navigation TAB, and the right side is the corresponding TAB display content area.
Language Settings#
In the language setting, the user can switch the language by select the language and click the ‘OK’ button, the language setting is successful. .. image:: ./image/1.jpg
Network Settings#
Click the ‘Network Settings’ tab to display the network settings, the user can set IP settings and WLAN settings. Among them, the network IP setting displays a different number of network port configuration information according to different hardware platforms, so that the user can easily modify the IP address of different ports. The IP details displayed include whether DHCP is activated, IP address and subnet mask; IP settings can be selected from DHCP or static IP settings.
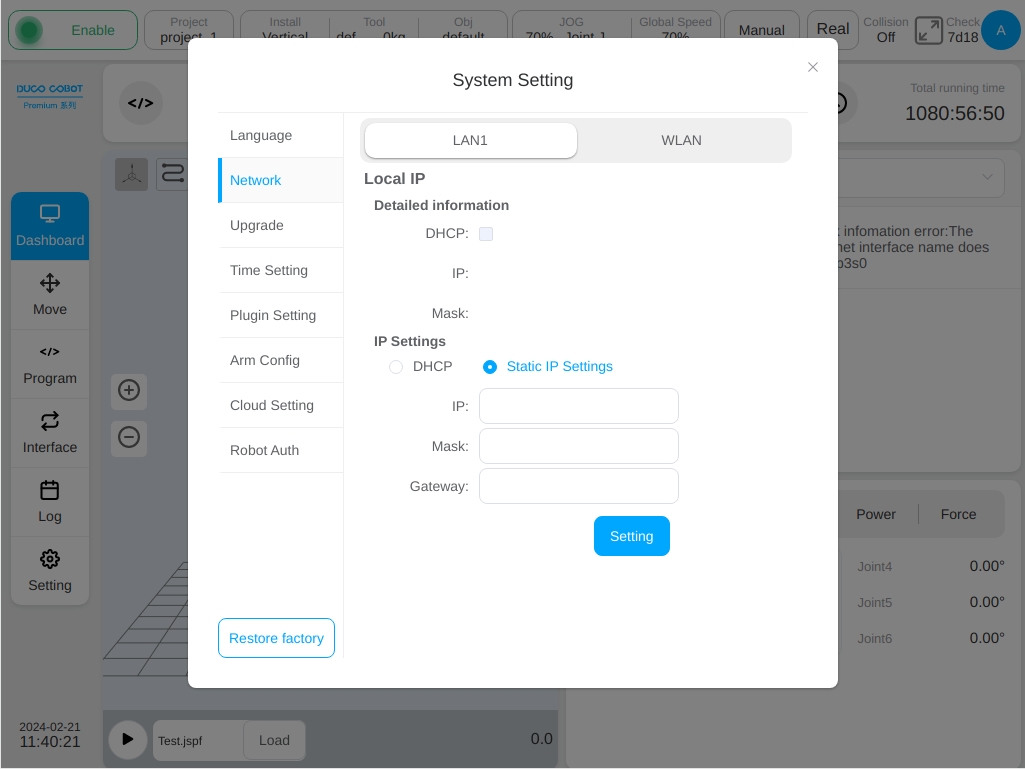
Note When DHCP is selected, the IP address, subnet mask and default gateway are automatically assigned by the DHCP server. The user cannot manually enter the IP address. When selecting static IP Settings, the user needs to manually enter the IP address, subnet mask and default gateway after that click the ‘Set’ button.

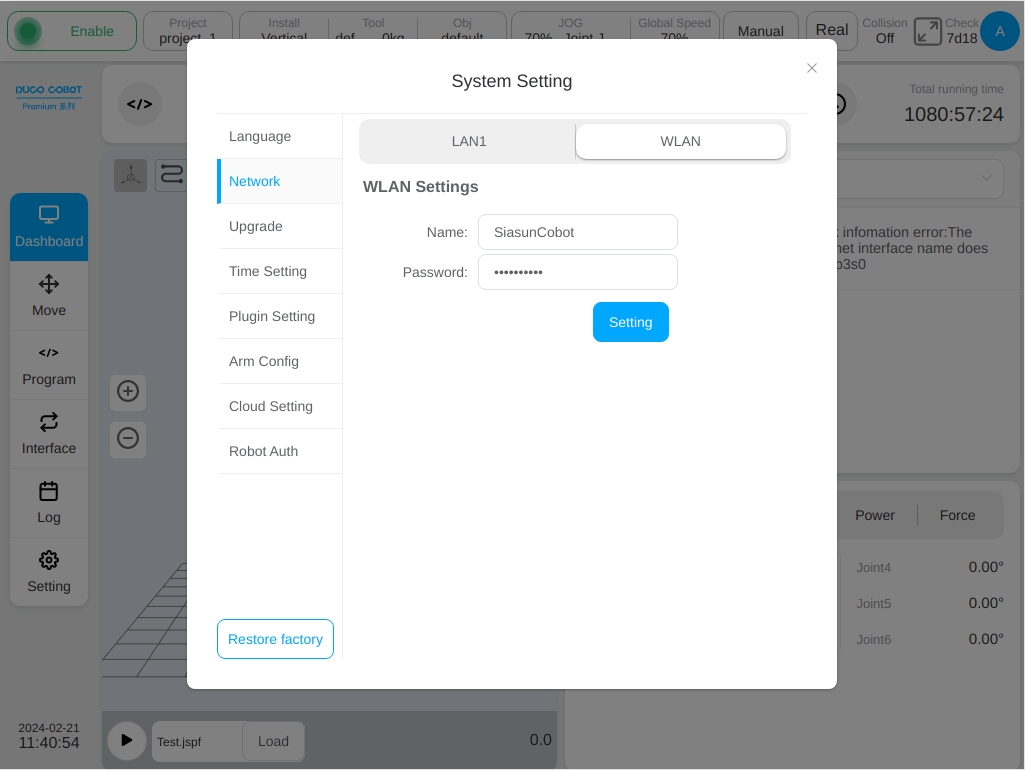
When setting the WLAN, enter the network name and password, click settings and restart the WLAN to take effect.
Updates#
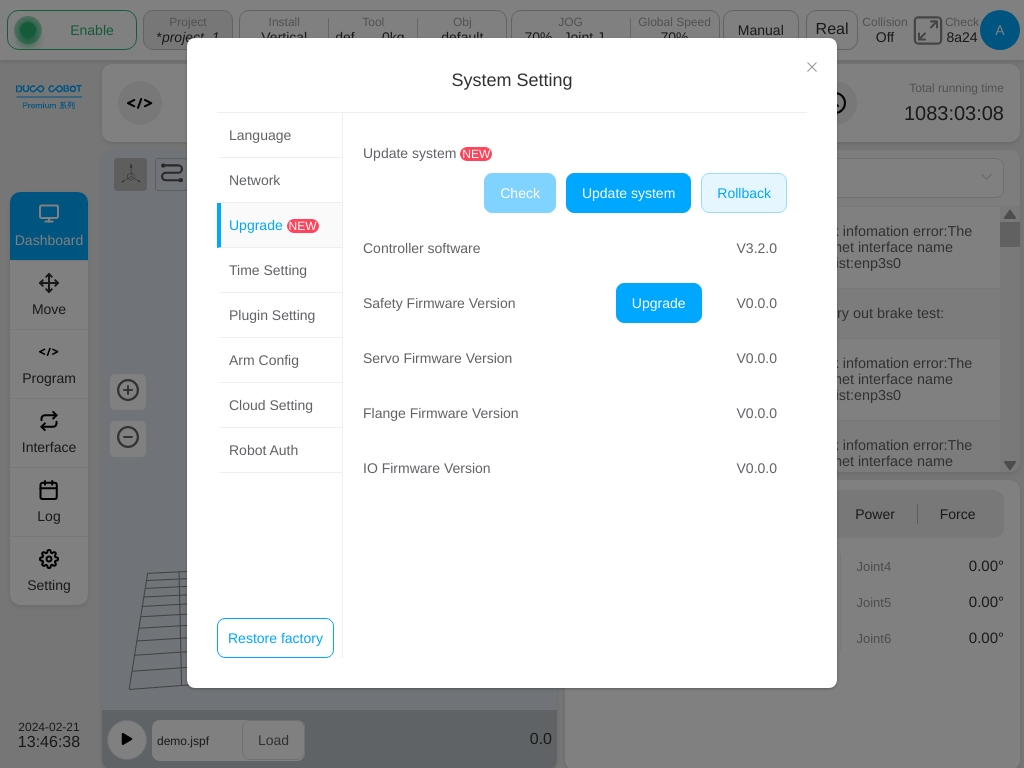
Clicking the ‘Update’ tab displays the buttons for system update related operations, i.e., the ‘Check for New Version’, ‘System Update’, ‘Back’ buttons, and the Controller Software Version, Safety Controller Firmware Version, Servo Controller Firmware Version, End Board Firmware Version and Control Panel IO Board Firmware Version. Among them, the safety controller firmware version has a separate ‘Update’ button for updating, and the system update can actively check the system version or update to a certain version with a single click on the local system, or go back to a previous version.
Ensure that the robot is powered off when performing system updates and safety controller firmware versions.
After click the ‘Check for New Version’ button, the message “Getting the latest version information…” is displayed on the upper part of the interface.
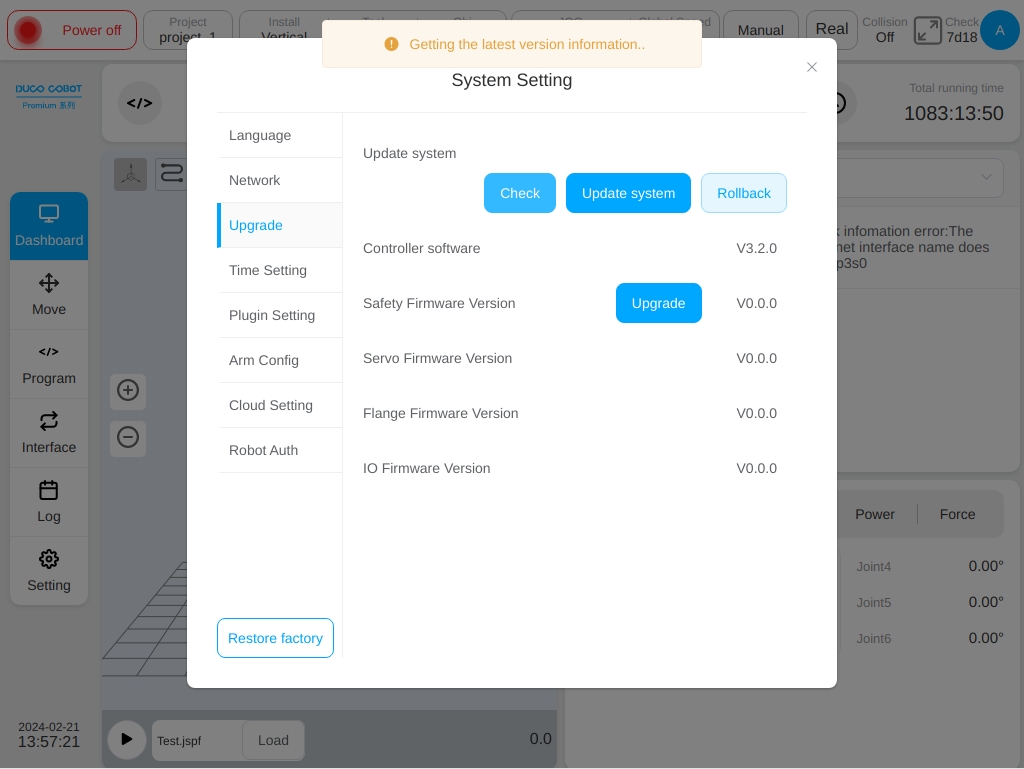
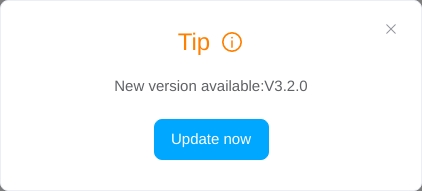
When there is no new version of the software, the interface will display a pop-up box to indicate that the current version of the software is the latest version; when there is a new version of the software, the interface will display a prompt box for the latest version. To update to the new version, click the ‘Update Now’ button.
Click the ‘System Update’ button, the pop-up ‘The robot will automatically power on and off during the update process, do not operate the robot!’. After the user clicks the ‘OK’ button in the prompt box, the pop-up window of the USB flash drive selection will be displayed.
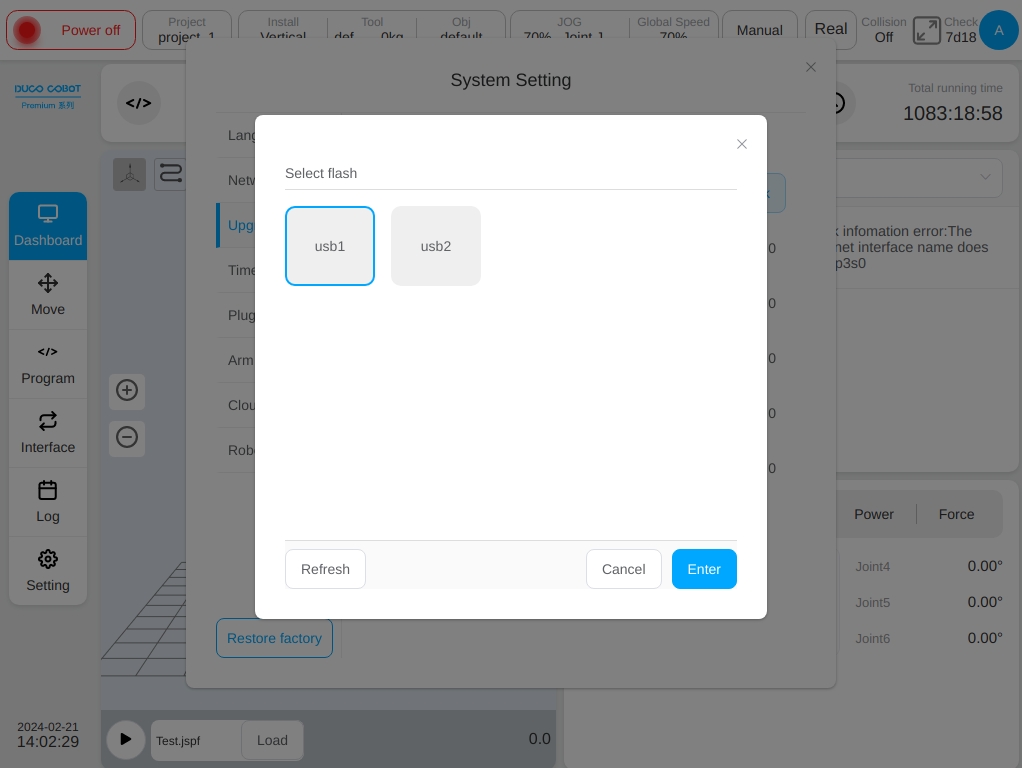
After the user selects the USB flash drive and click the ‘Select’ button, all update packages of the corresponding type under the USB flash drive are displayed. For example, the system update package ends with ‘.updatePro’, including the software update package (ending with ‘.Update’), server firmware update package, terminal firmware update package and I/O board communication package (.firmware). Software update packages end with the ‘.update’ suffix. The security controller update package ends with the ‘.firmware’ suffix.
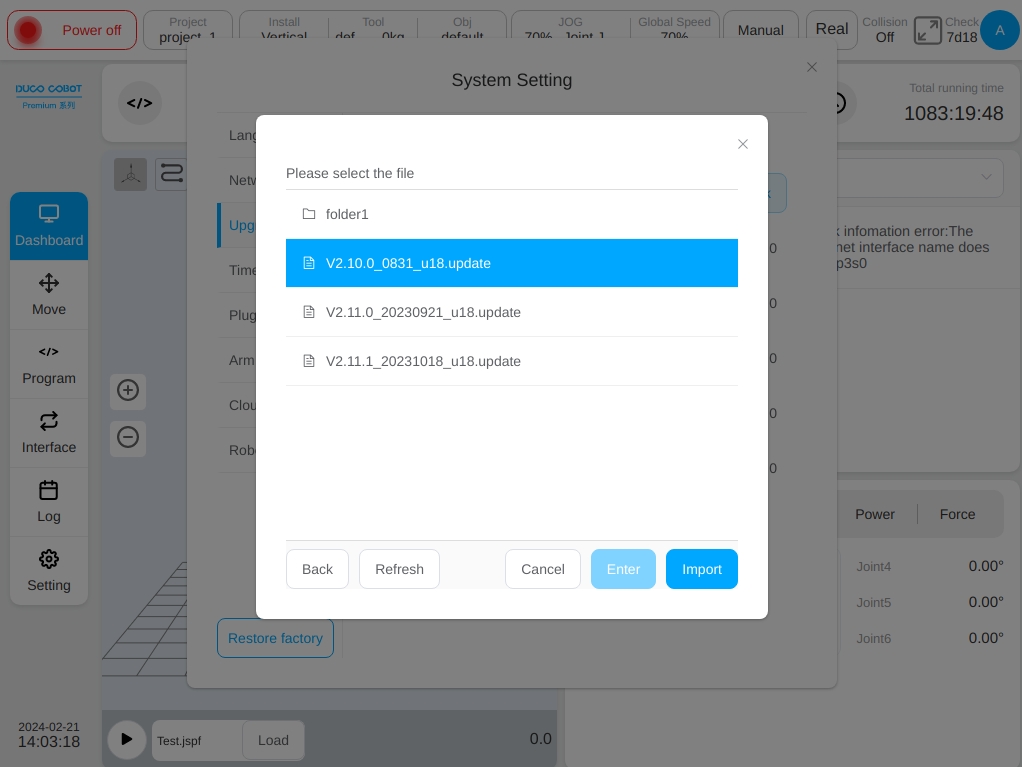
Click the ‘Rollback’ button to roll back the robot system version. The system rollback file list screen is displayed. The system version rollback file ends with the ‘.updatePro’ suffix. If the user only need to roll back the software version, select the software rollback file and end with the ‘.update’ suffix. Select the required file and click the ‘Rollback’ button. A message is displayed indicating that the file takes effect after restart. When rolling back the system version of the robot, ensure that the robot is powered off.
In addition to the user can actively query the software version, the cloud can push the new version to the device. If the cloud pushes a NEW version, click the user profile picture and a red mark ‘New’ will be displayed next to the ‘System Settings’ button in the pop-up box.
Time Settings#
Click the ‘Time Settings’ tab, the current system will display the date and time. Click the date selector or time selector selection box, respectively, the user can change the date and time, as shown below:
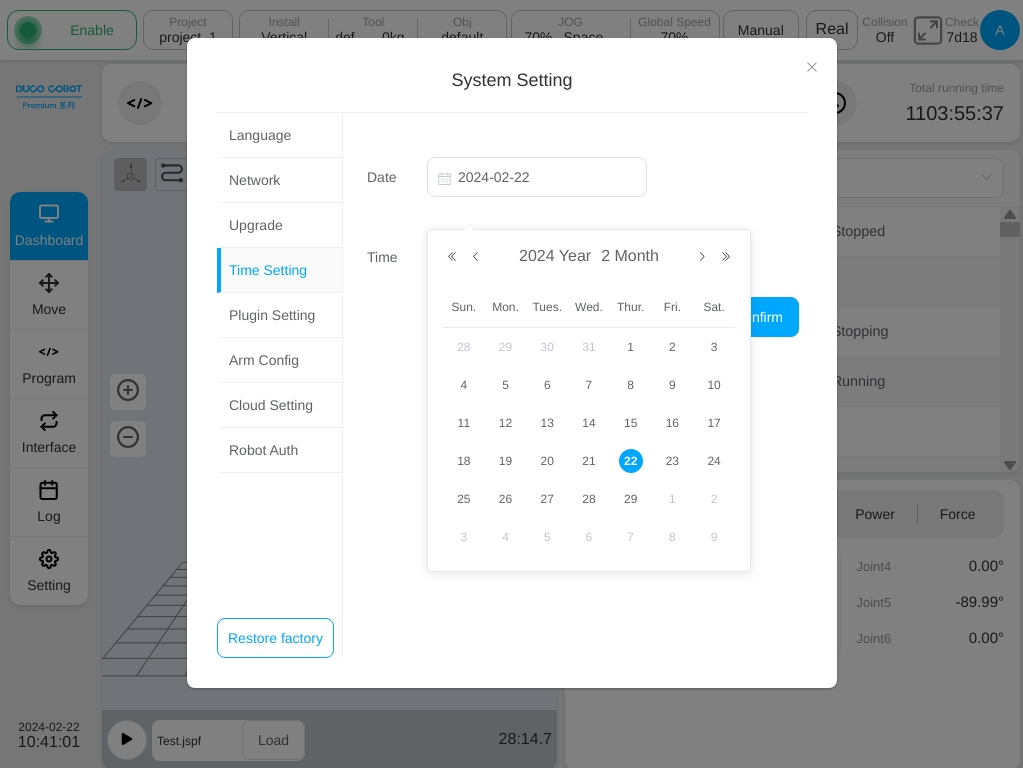
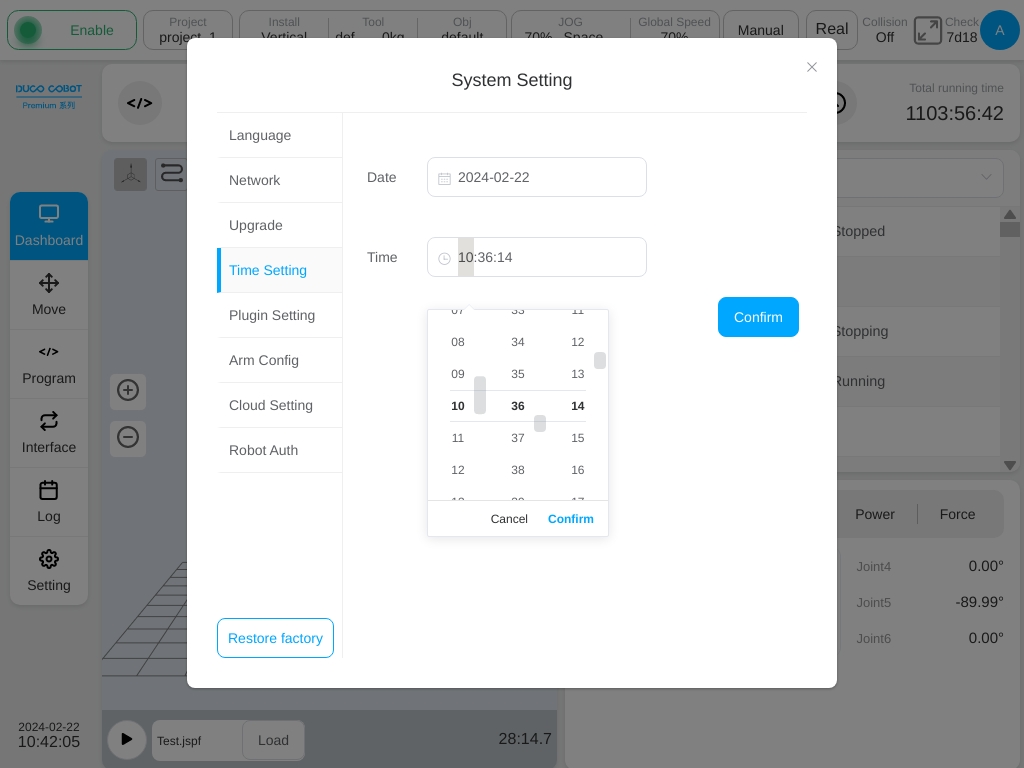
After setting the date and time, click the ‘OK’ button to set the date and time successfully.
Plug-in Management#
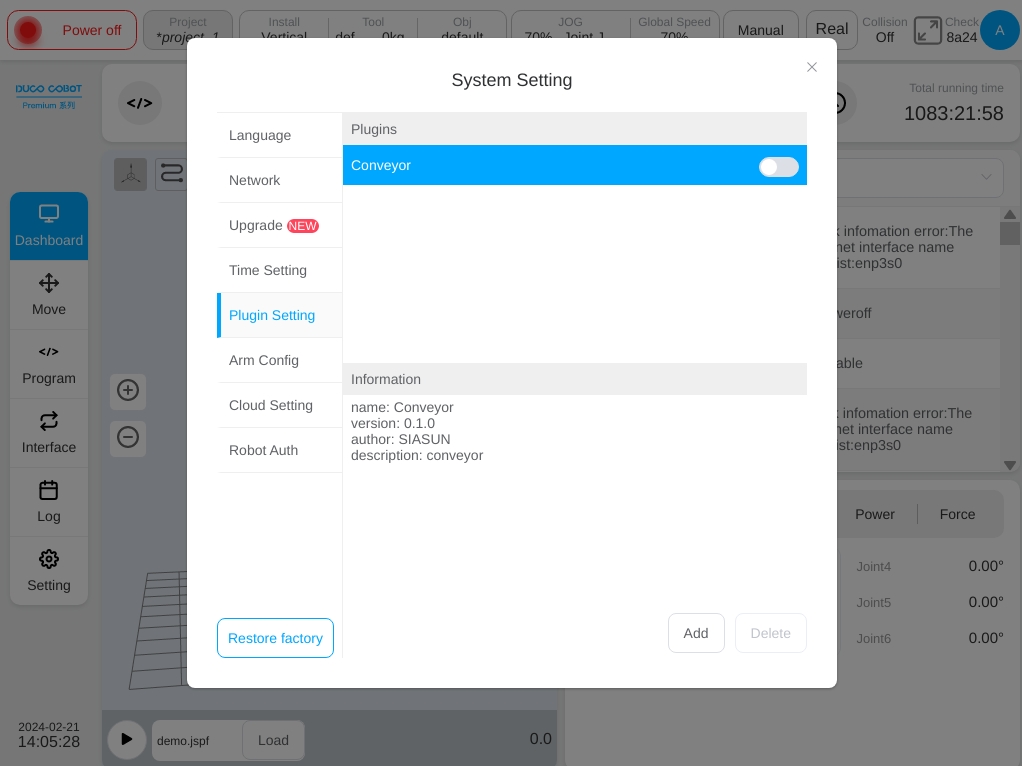
Click the ‘Plug-in Management’ tab to display the installed plug-ins and their detailed information. As shown below:
Robot Parameters#
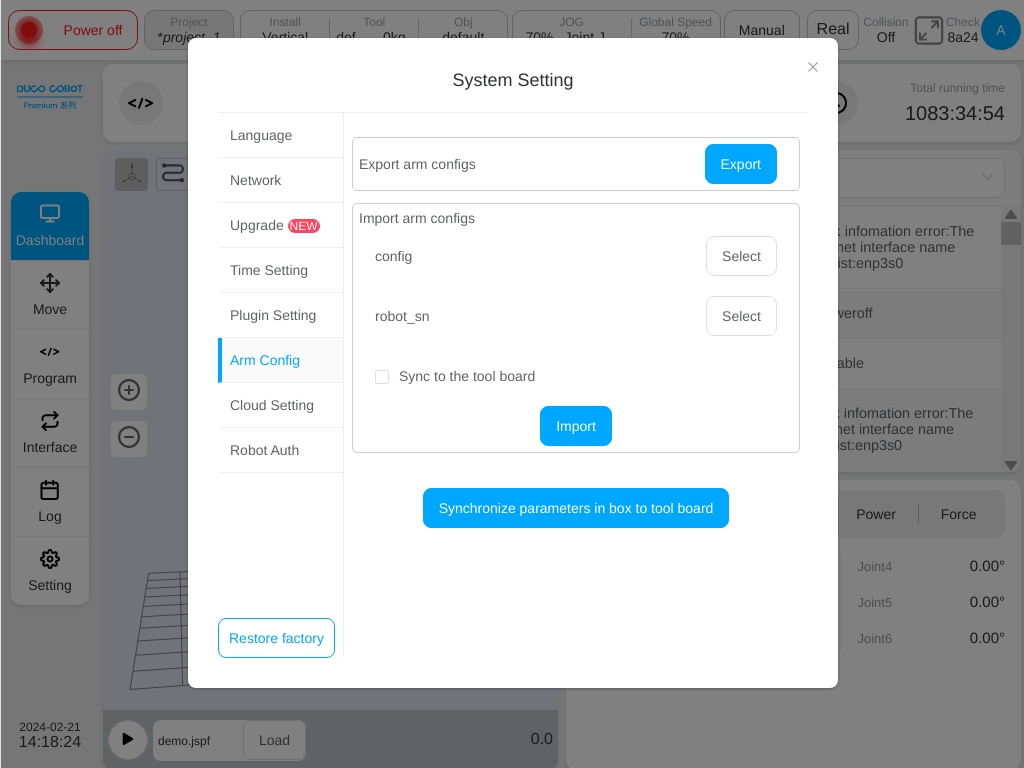
Click the ‘Robot Parameters’ tab to import and export robot arm profiles and synchronize control cabinet parameters to the end panel, as shown below:
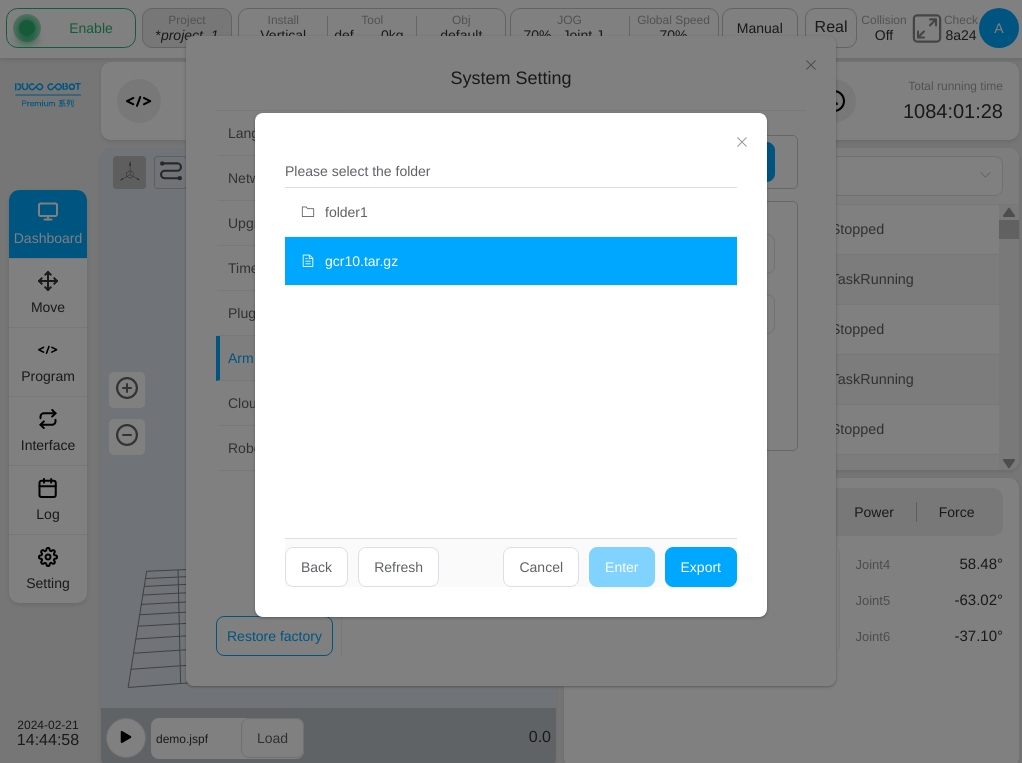
Click the ‘Export’ button to pop up the dialog box for exporting files from external USB flash drive, as shown below:
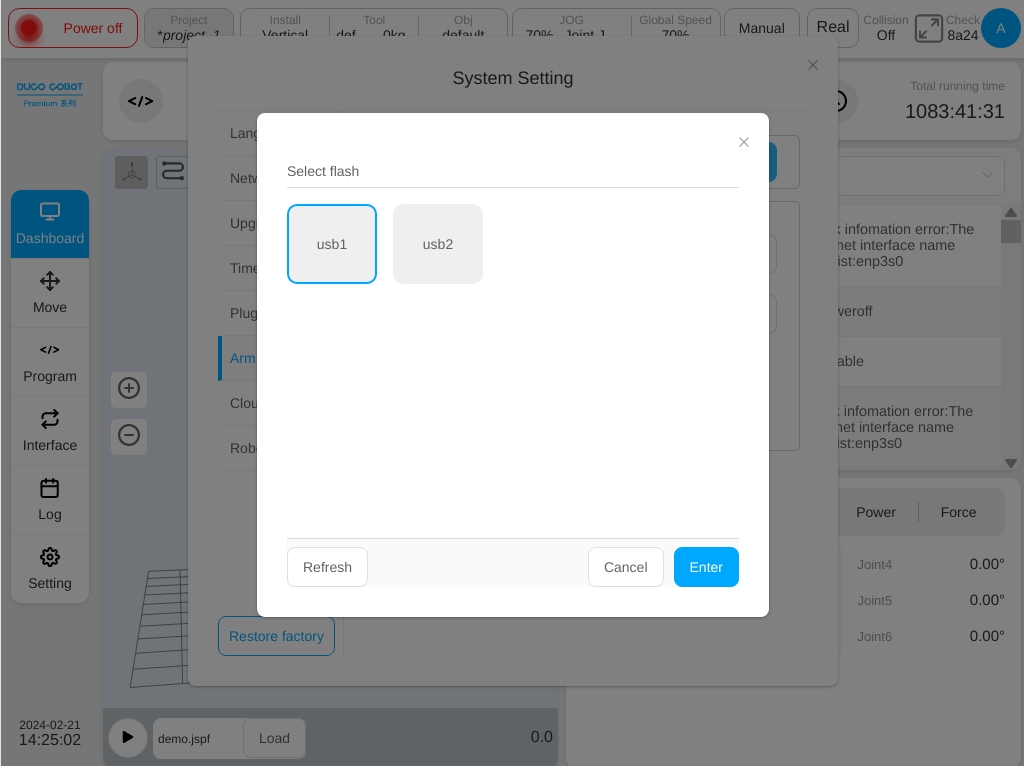
Select the USB flash drive (e.g. USB flash drive disk1) and the file storage position under the USB flash drive (e.g. disk11 folder under the USB flash drive), and click the ‘Select’ button at the lower right corner of the dialog box.
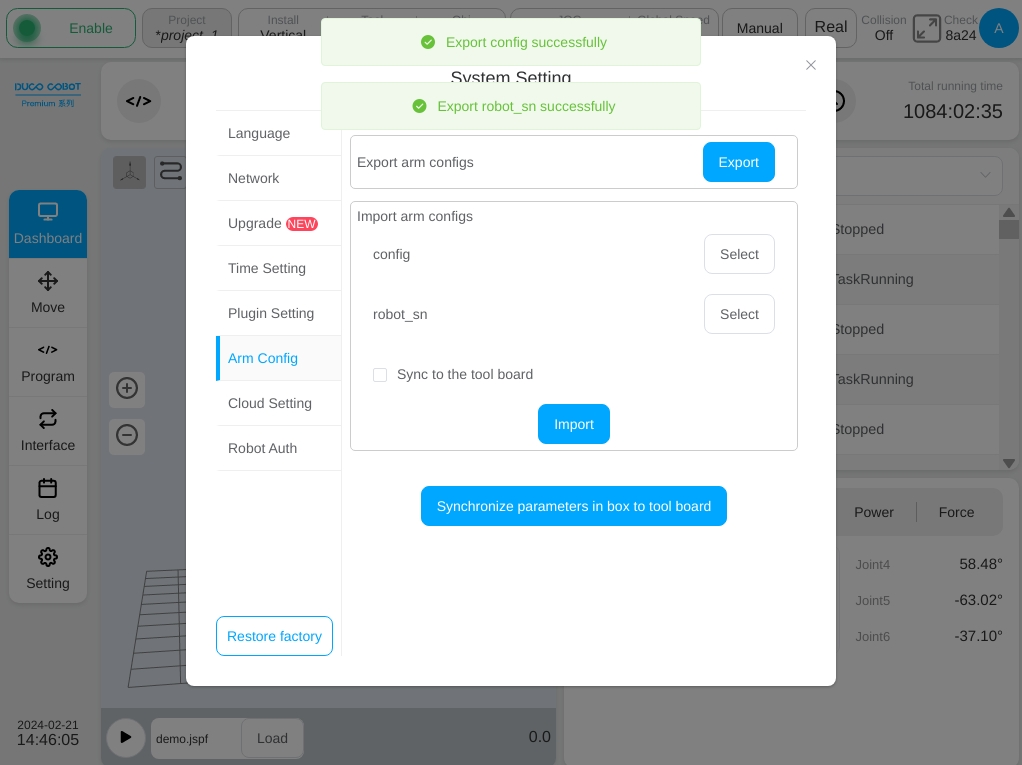
After the export is successful, the message ‘config’ is exported successfully and ‘robot_sn’ is exported successfully is displayed on the upper part of the interface.
In this case, check the folder path corresponding to the selected USB flash drive. The ‘.tar.gz’ file (e.g. gcr5.tar.gz) and the ‘robot_sn.json’ file are displayed.
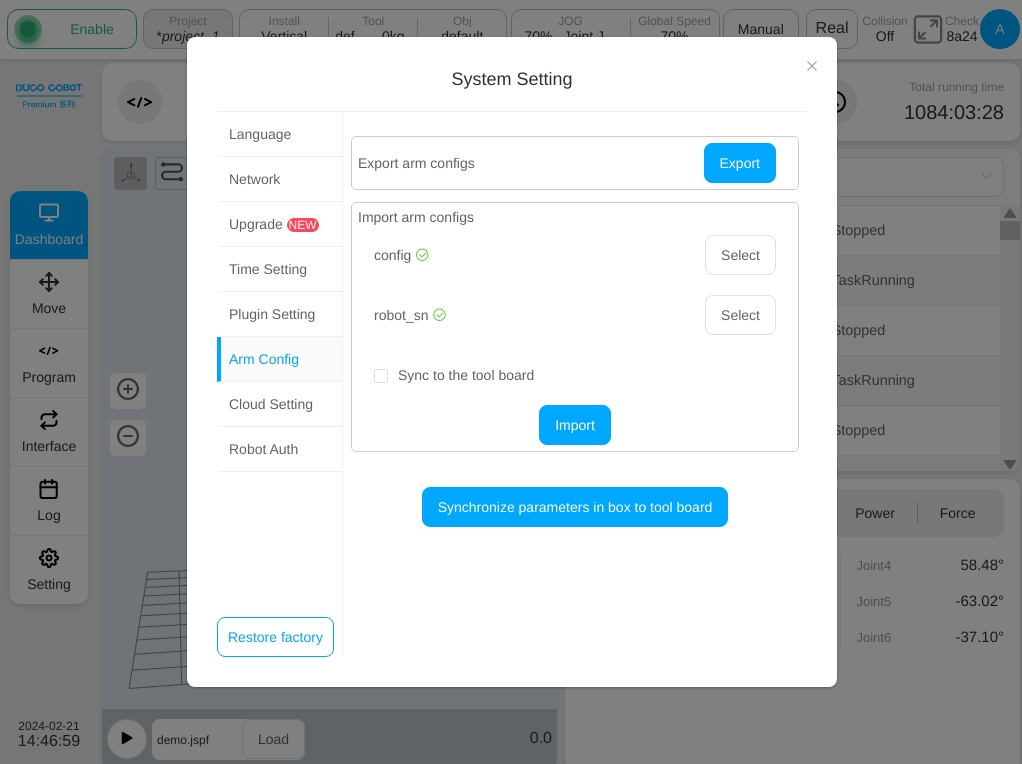
Click ‘config’ and ‘robot_sn’ in the import robot configuration section and then select the ‘Select’ button respectively. Select the required ‘config’ file and ‘robot_sn’ file respectively from the pop-up dialog box for importing files from external USB flash drive. The green check icon will be displayed after corresponding to ‘config’ and ‘robot_sn’, as shown below:
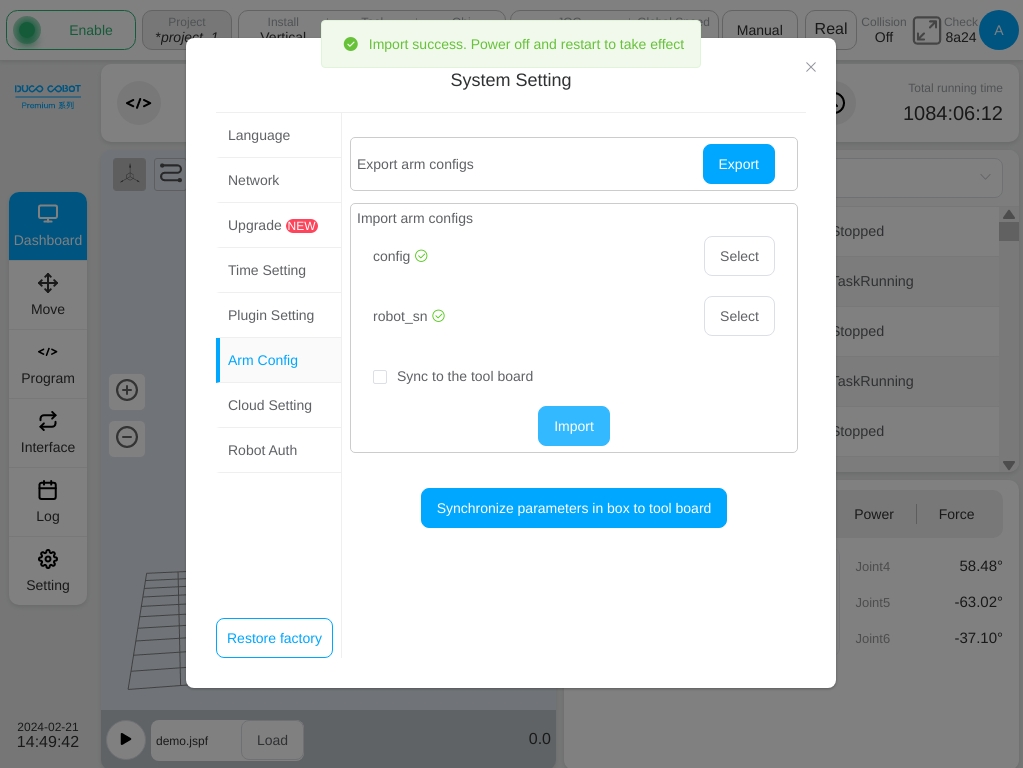
After selecting the imported robot configuration file, click the ‘Import’ button on the interface. After the import is successful, the message ‘Import succeeded on the upper part of the interface. It takes effect after power failure and restart’ is displayed, as shown in the following figure:
Click the ‘Synchronize control cabinet parameters to the end plate’ button to synchronize the robot parameters in the control cabinet to the end plate of the robot.
Cloud Platform Settings#
Click the the ‘Cloud Platform Settings’ tab page to display the connection status between the robot and the cloud platform, enter the IP address of the cloud platform and set whether to connect to the cloud platform. As shown below:
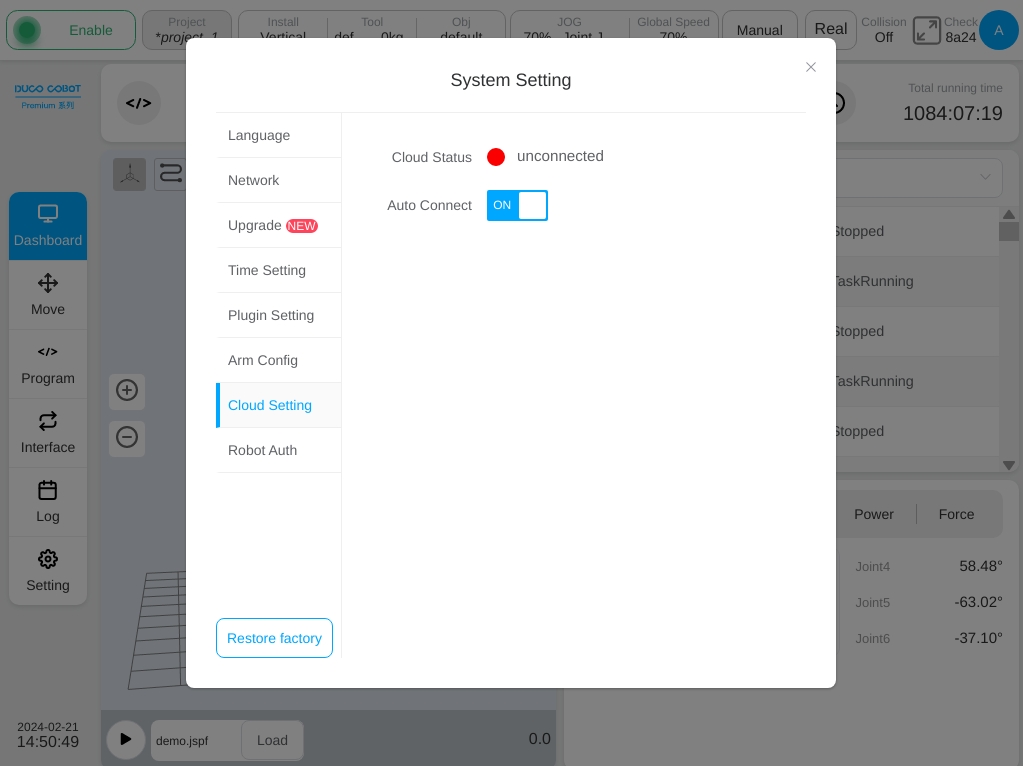
After manually entering the IP address of the cloud platform server and switching the Connect switch, the user can actively connect to or disconnect from the cloud platform server and the connection status changes accordingly.
Robot Authorization#
Click the ‘Robot Authorization’ tab, it will show the robot authorization information and operation buttons, click the ‘Generate Dynamic Code’ button, it will generate a dynamic code, and prompt the user to ‘Please send the dynamic code to the distributor to get the authorization file and activate it in the effective time’ is shown in the figure below:
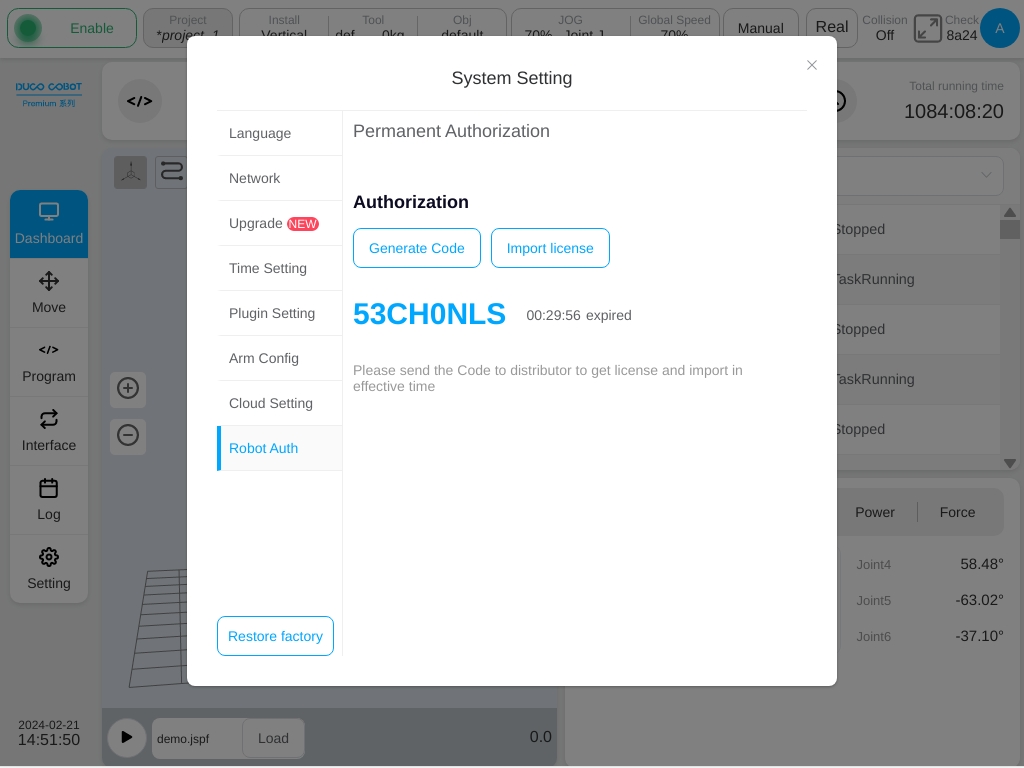
After obtaining the license file from the distributor through dynamic code, click the ‘Import License File’ button to import and activate it.
Restore factory Settings#
Click the ‘Restore factory Settings’ button under the navigation tab page on the left of the system settings page (only for the admin user) and the pop-up warning box is as follows:
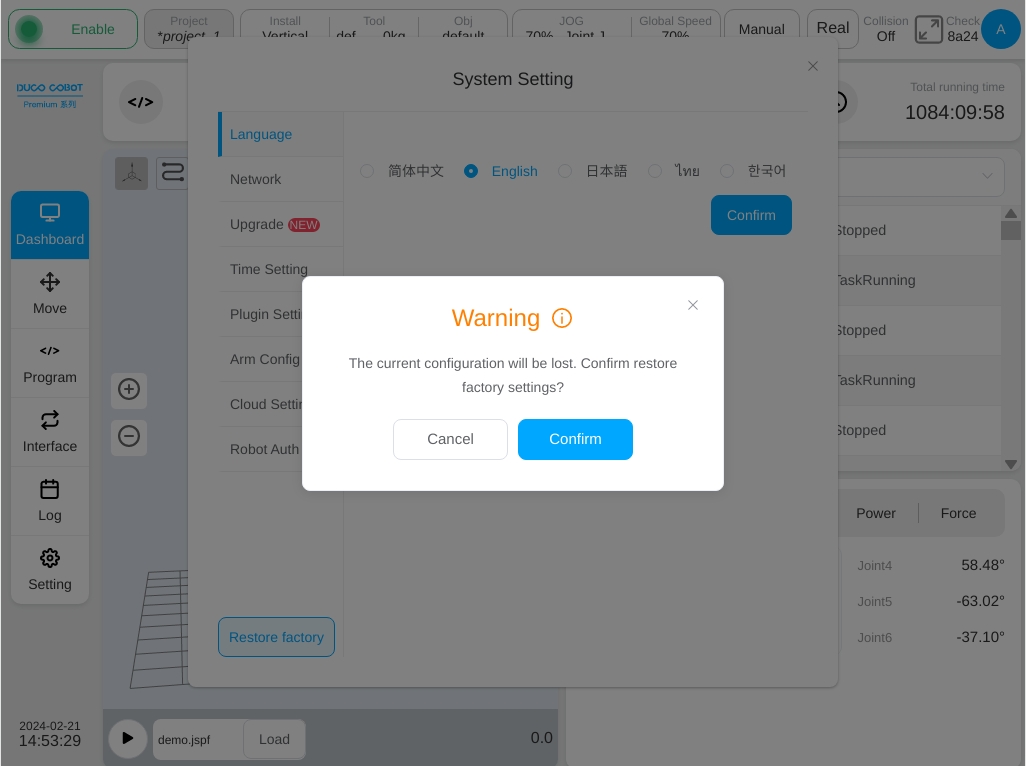
Click the ‘Cancel’ button to cancel the factory settings. After the user click the ‘OK’ button, the message ‘Factory Settings are restored successfully, needs a restart to take effect!’ is displayed on the upper part of the screen. After the factory settings are restored, the following contents are cleared: all non-template projects in the project, all logs, robot_sn files, and project and default IP addresses in the system files.
