MoveIt Setup Assistant Environment Configuration#
moveit_setup_assistant Configuration Process#
The following content will configure a custom robot’s moveit2_config package using moveit_setup_assistant.
Step 1:
Compile the packages as mentioned in the previous chapter:
1colcon build --packages-select duco_msg
2colcon build --packages-select duco_support
3colcon build --packages-select duco_arms
4colcon build --packages-select duco_ros_driver
5colcon build
Create workspace and package:
1mkdir -p test_duco_ws/src
2cd test_duco_ws/src
3mkdir duco_test_robot_moveit_config
4cd ..
5cd ..
Build the package and source:
1colcon build
2source install/setup.bash
Navigate to test_duco_ws and launch moveit_setup_assistant to configure the robot
1cd test_duco_ws
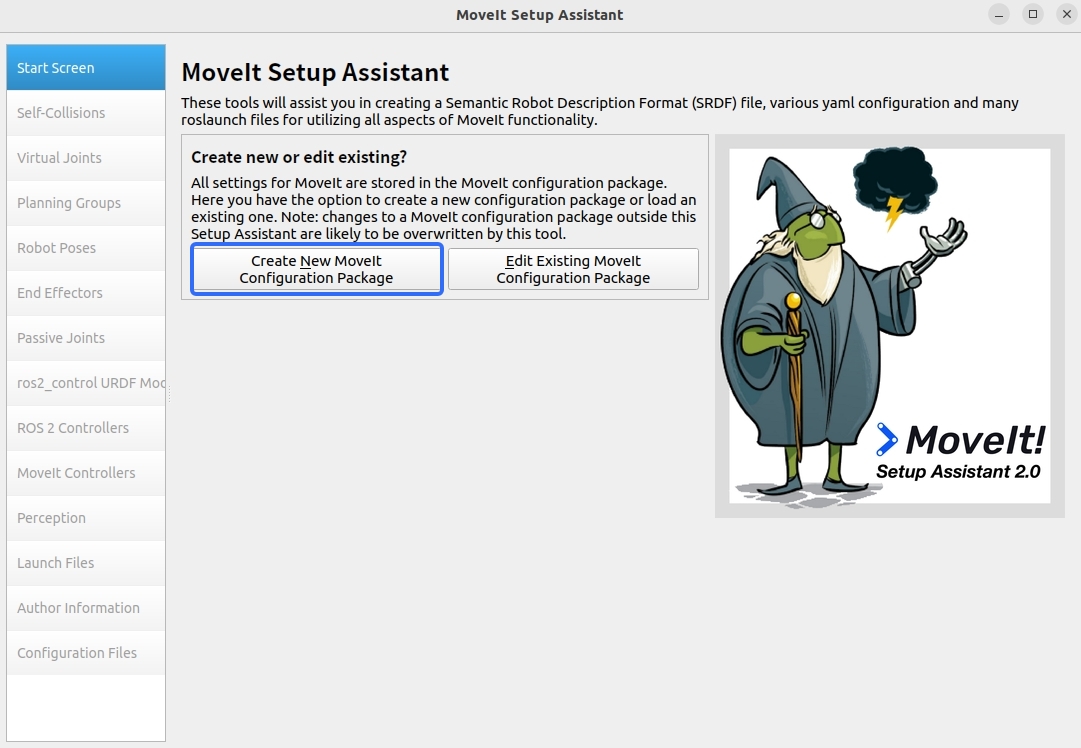
2ros2 launch moveit_setup_assistant setup_assistant.launch.py
Step 2: Configuration process
When the configuration interface launches, click “Create New Moveit Configuration Package” to create a new MoveIt configuration package.
Then click Browse, navigate to the previously imported directory src/duco_support/urdf, and select the .urdf description file for the required gcr robot arm. After selection, click Load Files to load. (You’ll see the loaded robot arm on the right side of the interface.)

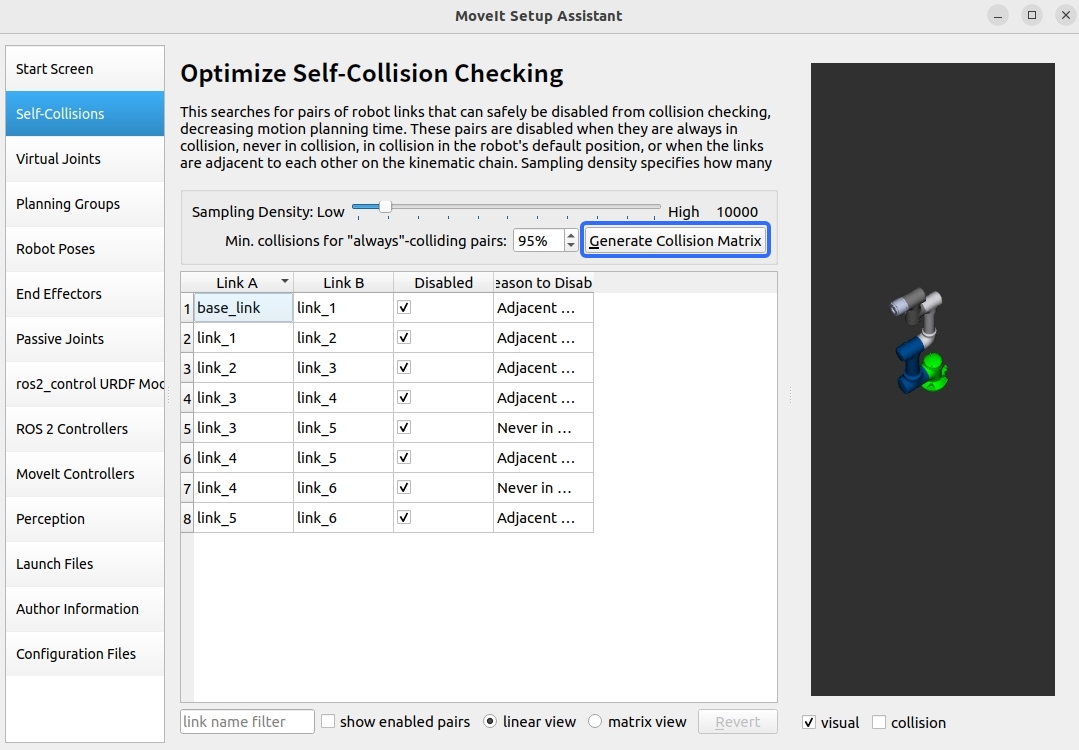
On the left, select the Self-Collisions section, then click Generate Collision Matrix. This will automatically create collision matrices for joints, avoiding collisions between contacting links and non-contacting links.
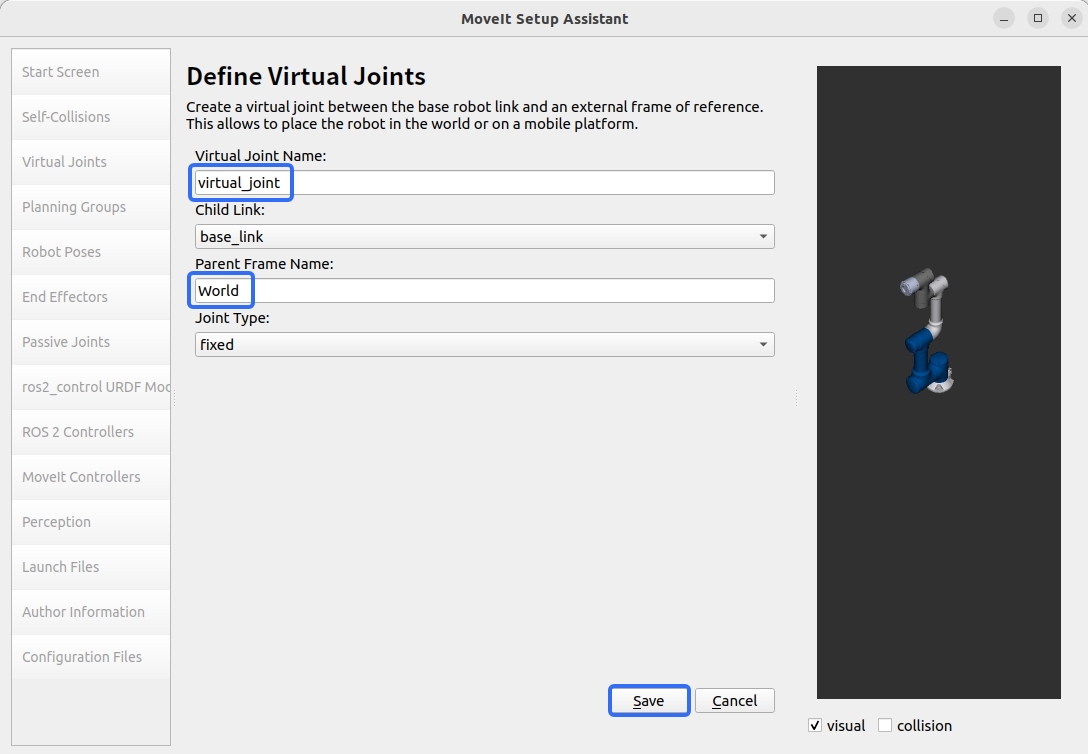
Next, set up Virtual Joints for configuring virtual axes when the robot is installed on a mobile platform. When the robot needs coordinated motion with a mobile platform, virtual joint parameters including name and joint type must be configured. Through synchronized motion of virtual joints, the robot base can move in coordination with the mobile platform. In this demo, the robot is placed directly in the global world coordinate frame, with the virtual joint named virtual_joint.
Planning Groups are used to divide joints in the robotic system that need collaborative kinematics calculations into logical units. Joints within each planning group will be calculated as a whole for forward or inverse kinematics. This demo only configures the robot arm planning group (arm group), with steps as follows:
Click Add Groups
Enter Group name (arm_1 is suggested)
Select kinetic Solver as: kdl_kinematics_plugin/KDLKinematicsPlugin
Set Group Default Planner to: TRRT
Add relevant joints using Add Joints function
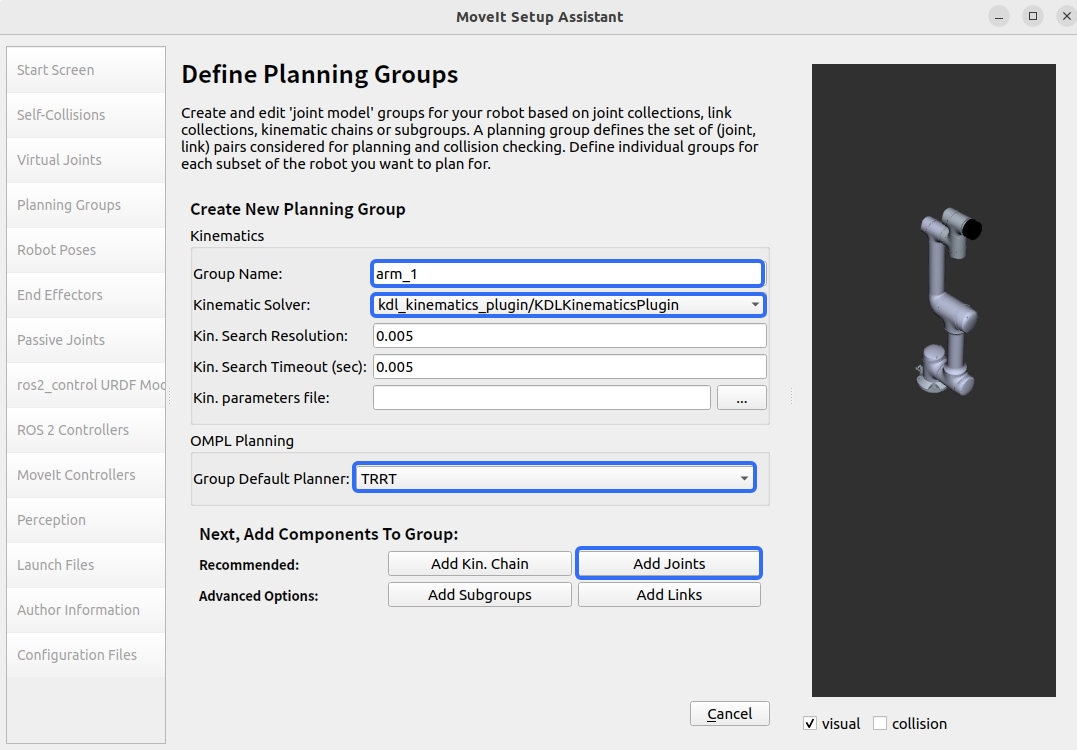
Select all joints, add using “>”, then click save.

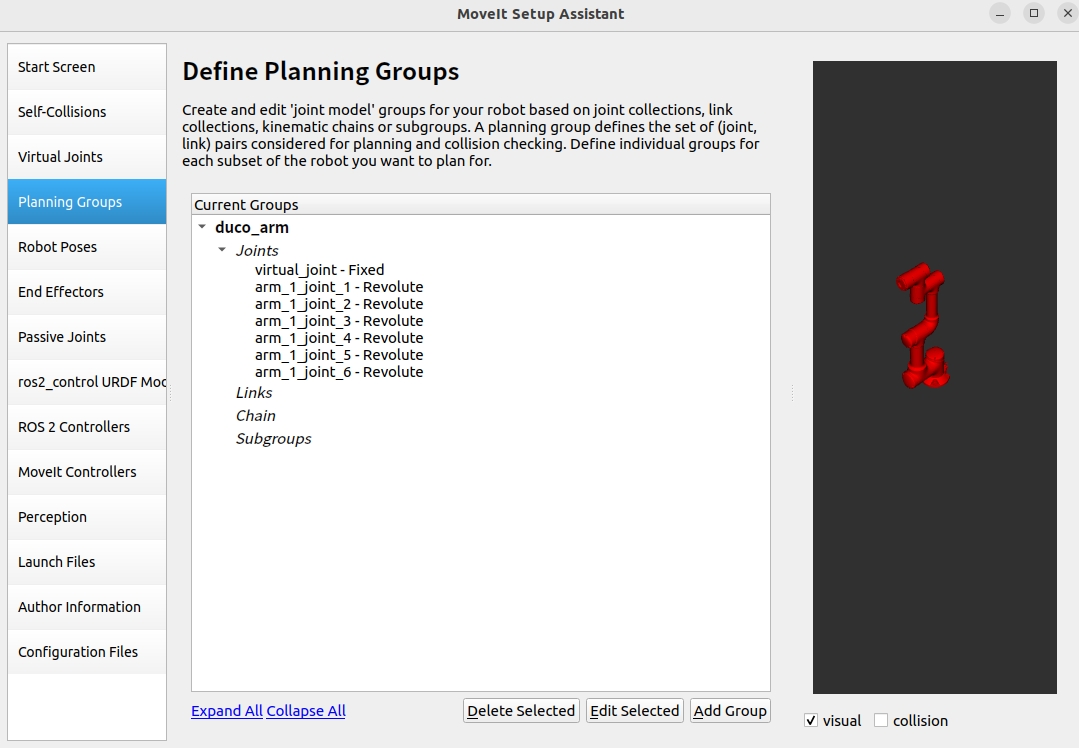
When properly defined, it will appear as shown below:
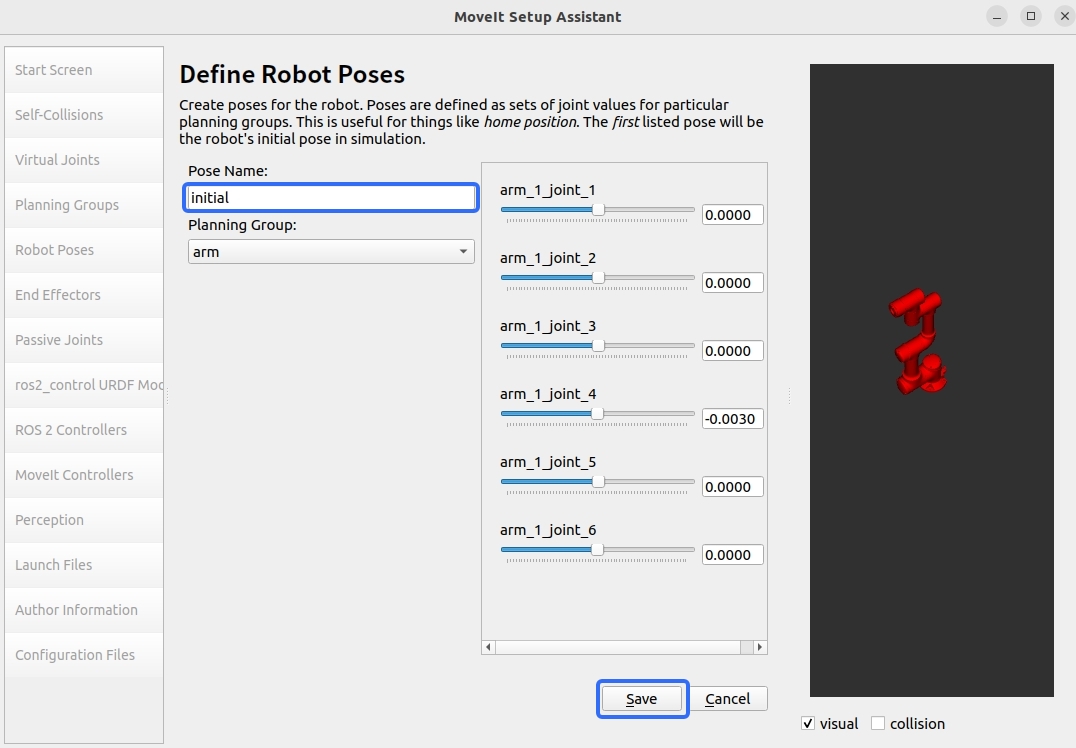
In the left Robot Poses section, we can define preset poses for each planning group of the robot arm. Pose values are not restricted and can be adjusted as needed.
First click Add Pose, then enter a name (using ‘initial’ as example), and finally click save.
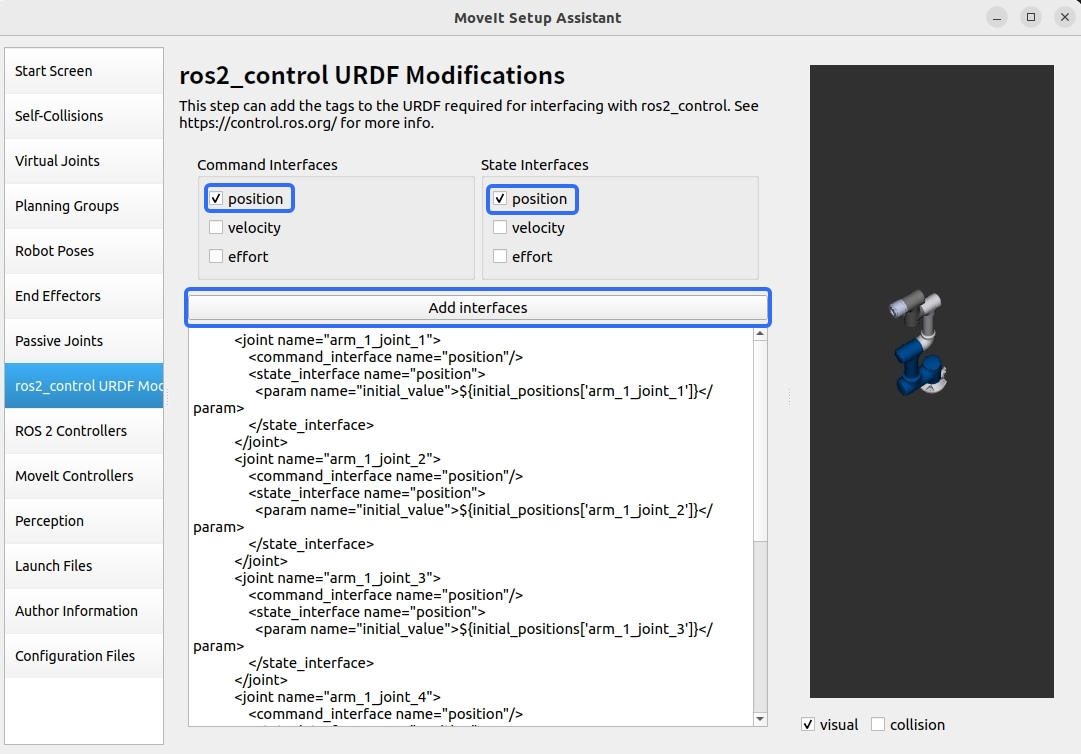
Next, configure ROS 2 Control URDF Modifications. This time, check position for both Command Interfaces and State Interfaces. Then click Add Interfaces to apply the configuration.
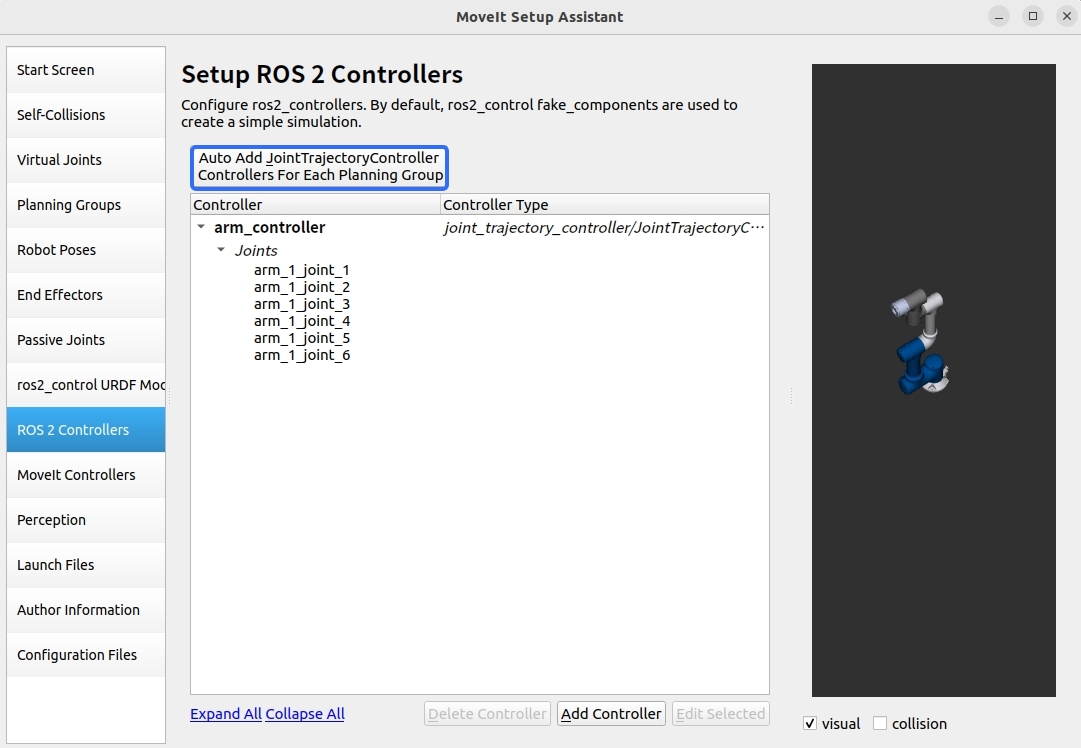
The core function of ROS 2 Controllers is to automatically generate the ros2_controllers.yaml configuration file. This file contains key parameters such as controller type selection.
Specify the corresponding controller for each Planning Group.
We’ll automatically generate trajectory controller configuration using the “Auto Add JointTrajectoryController Controllers For Each Planning Group” function.
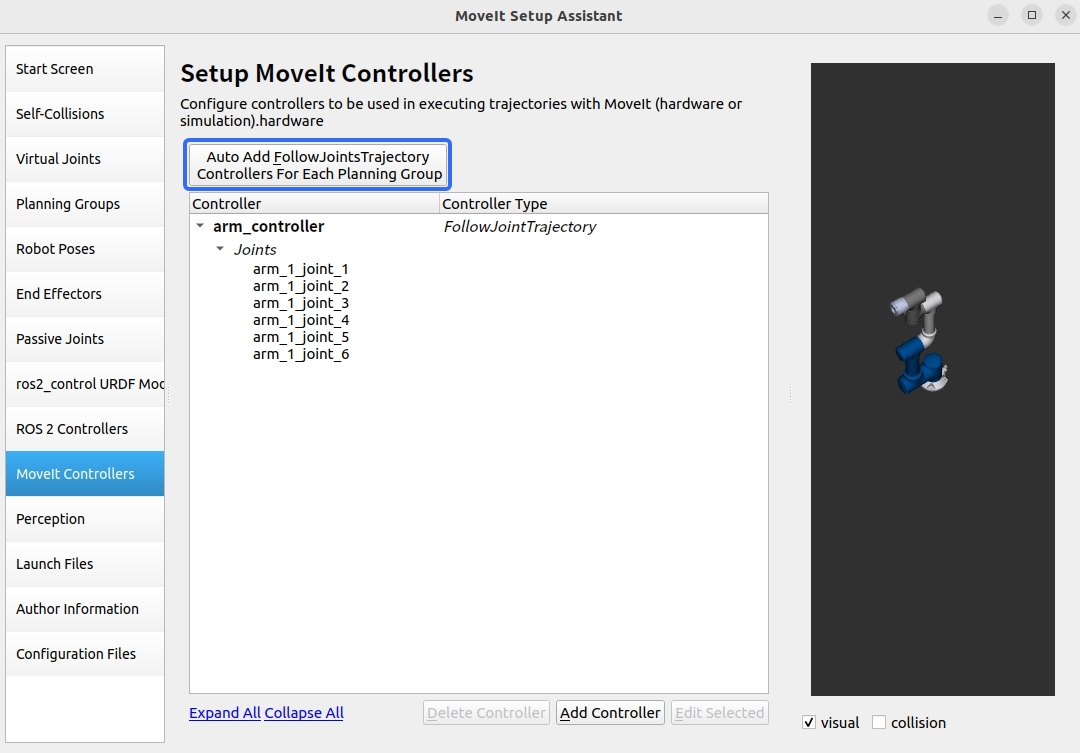
The core function of MoveIt Controllers is to generate the moveit_controllers configuration file, which mainly defines the following key parameters:
Controller name
Controller type
Important configuration considerations:
Name consistency requirement: Controller names configured in moveit_controllers must exactly match controller names in ros2_controllers, which is essential for normal operation.
Automatic type mapping mechanism: When names match, the system automatically establishes controller type mapping.
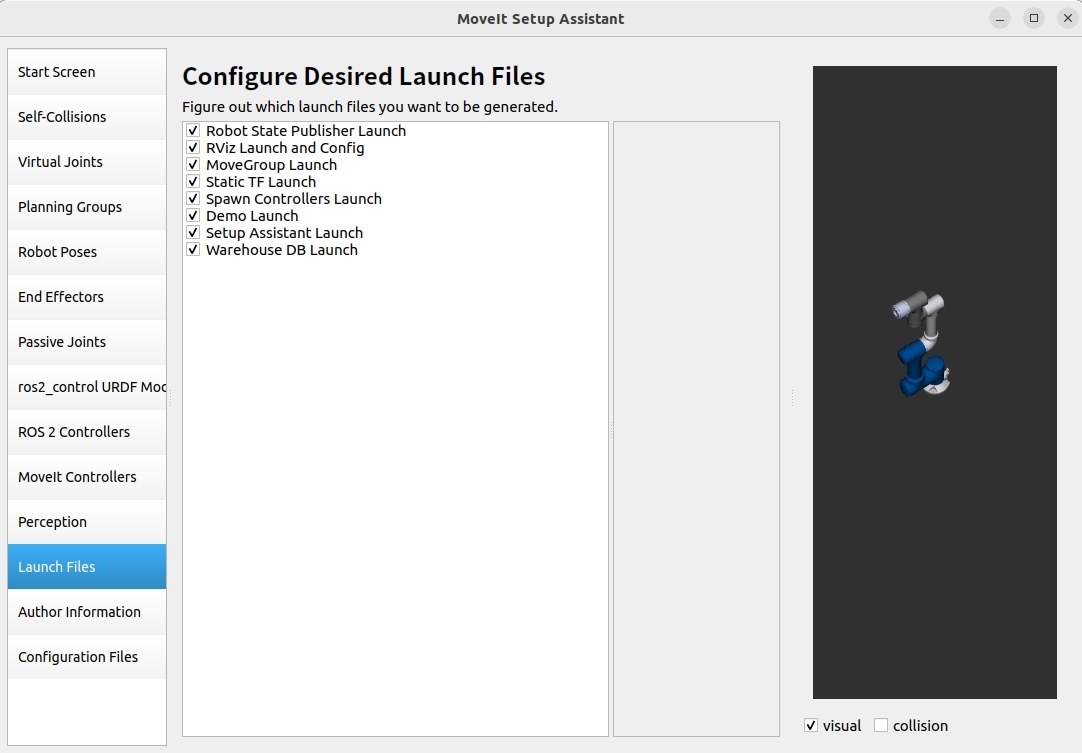
In the Launch Files section, we’ll use default settings.
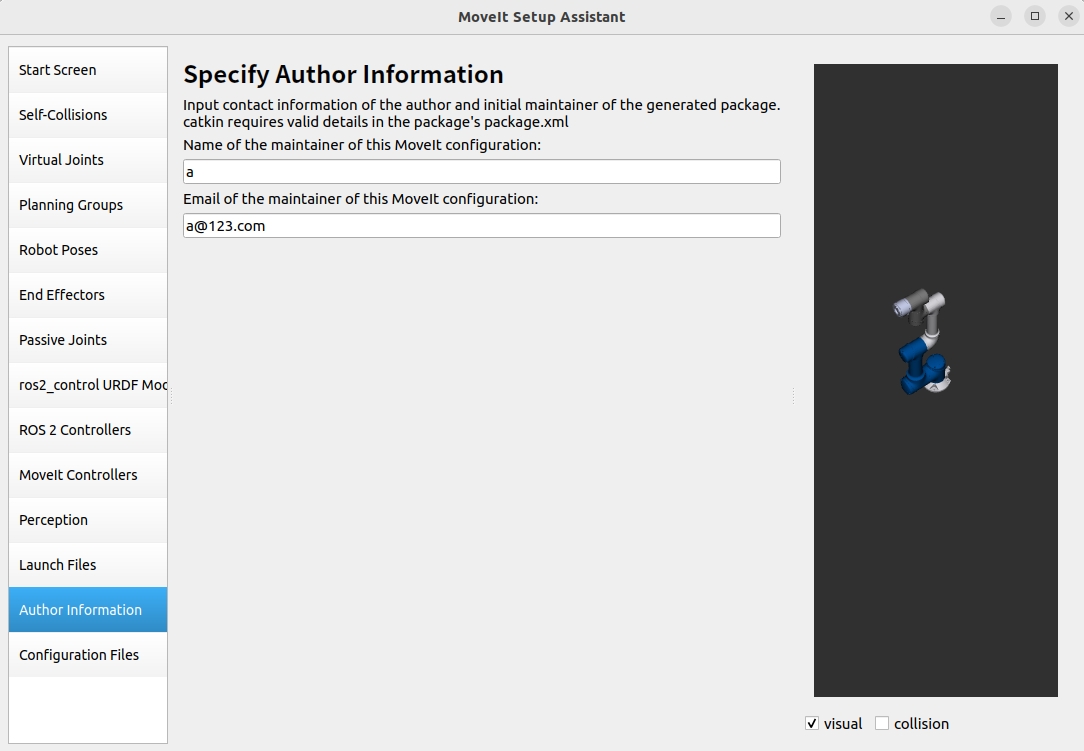
For author information, fill in as usual (note: a valid email is required).
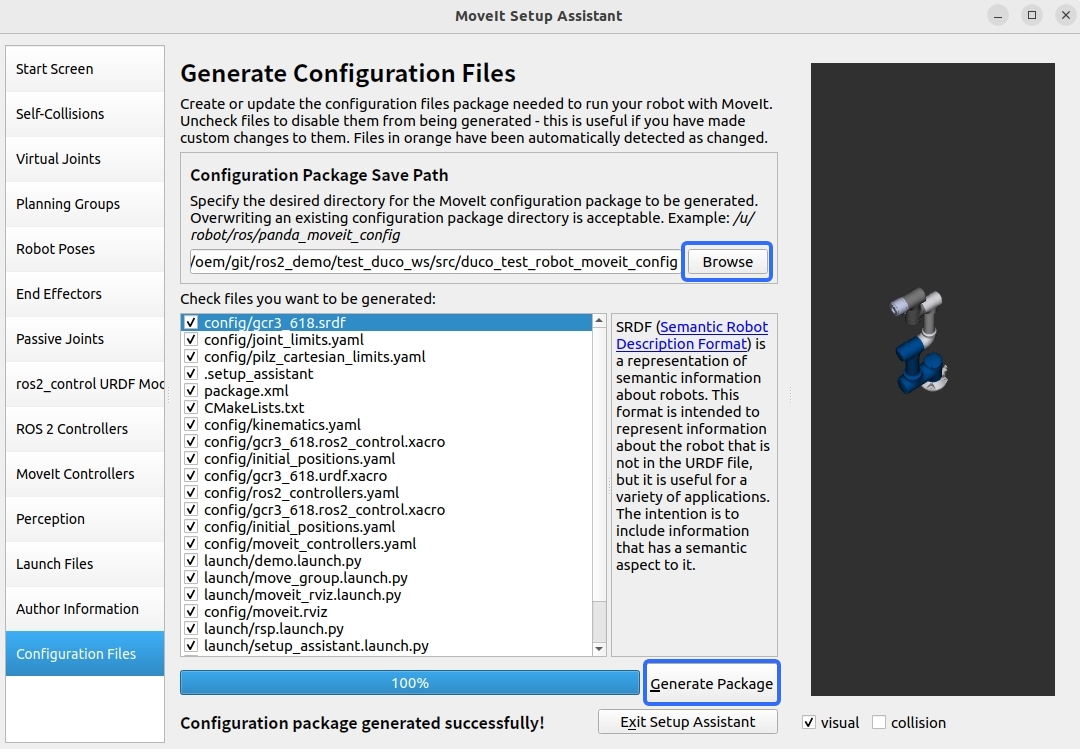
Finally, in the Configuration Files section, click Browse to select the output location. For this demo, we selected the previously created duco_test_robot_moveit_config folder to store configuration files.
After configuration is complete, we can compile our new package and use our custom moveit2 configuration package as a replacement for enhanced compatibility.
Execution Process#
First, navigate to the terminal in the test_duco_ws directory and enter: .. code-block:
:linenos:

colcon build --packages-select duco_test_robot_moveit_config
source install/setup.bash
Then, return to the parent directory and run source:
1cd ..
2source install/setup.bash
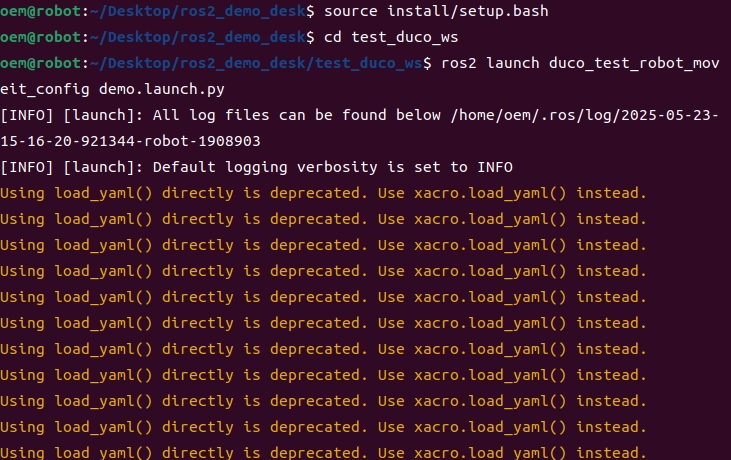
Finally, return to our previous directory and run the launch file to start the configured RVIZ.
1cd test_duco_ws
2ros2 launch duco_test_robot_moveit_config demo.launch.py