Workpiece management#
Click “Workpiece Management” in the navigation bar to enter the workpiece management page, as shown in the following figure.
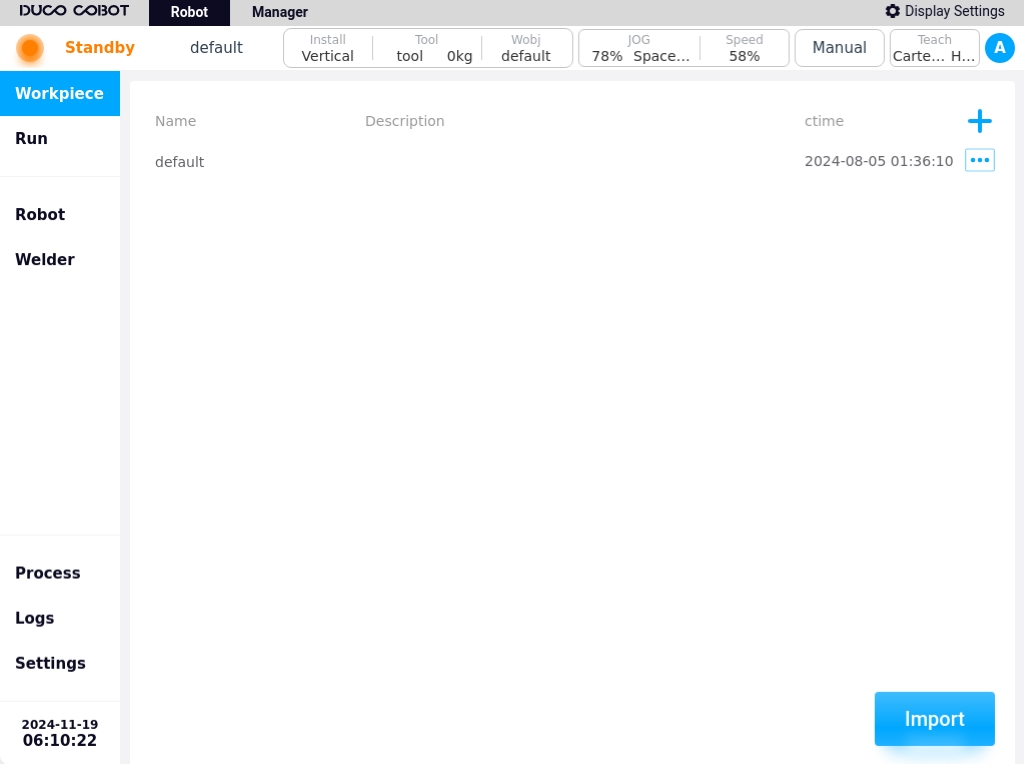
The artifact management page is used to manage all artifacts in the currently active project. A default artifact named default is created when the system is initialized.
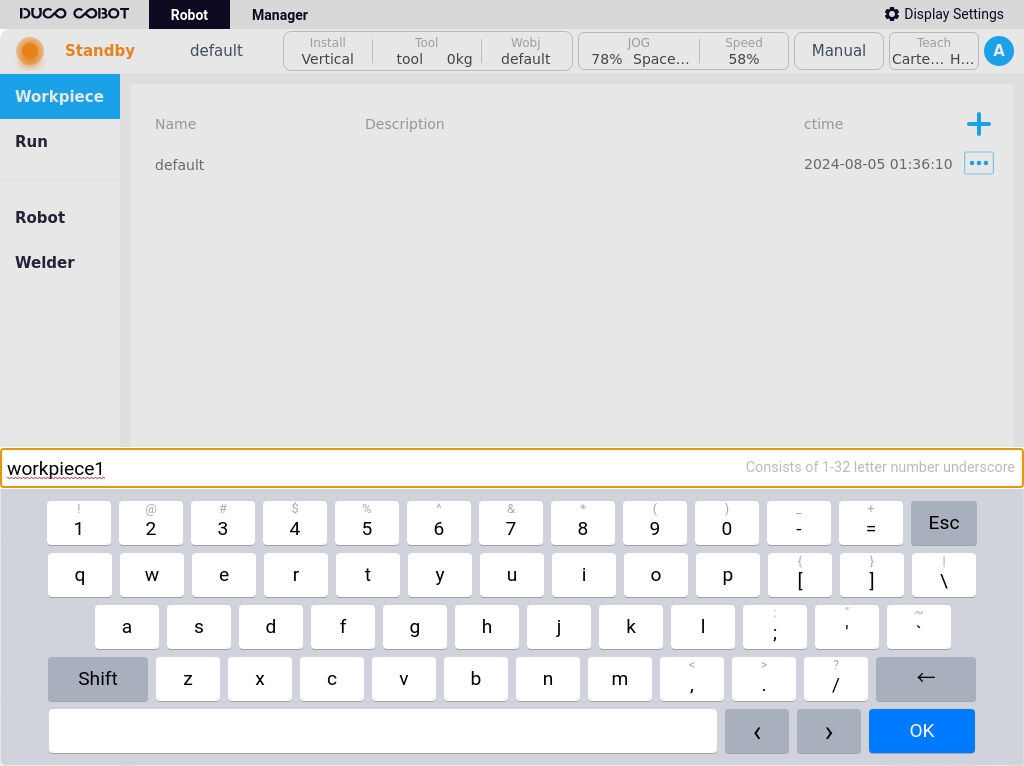
The artifact list displays the artifact name, description, and creation time, as well as the new artifact icon  and the artifact operation icon
  . Click on the icon to bring up the keyboard and enter the name of the artifact, e.g., “W1”, as shown in the following figure.
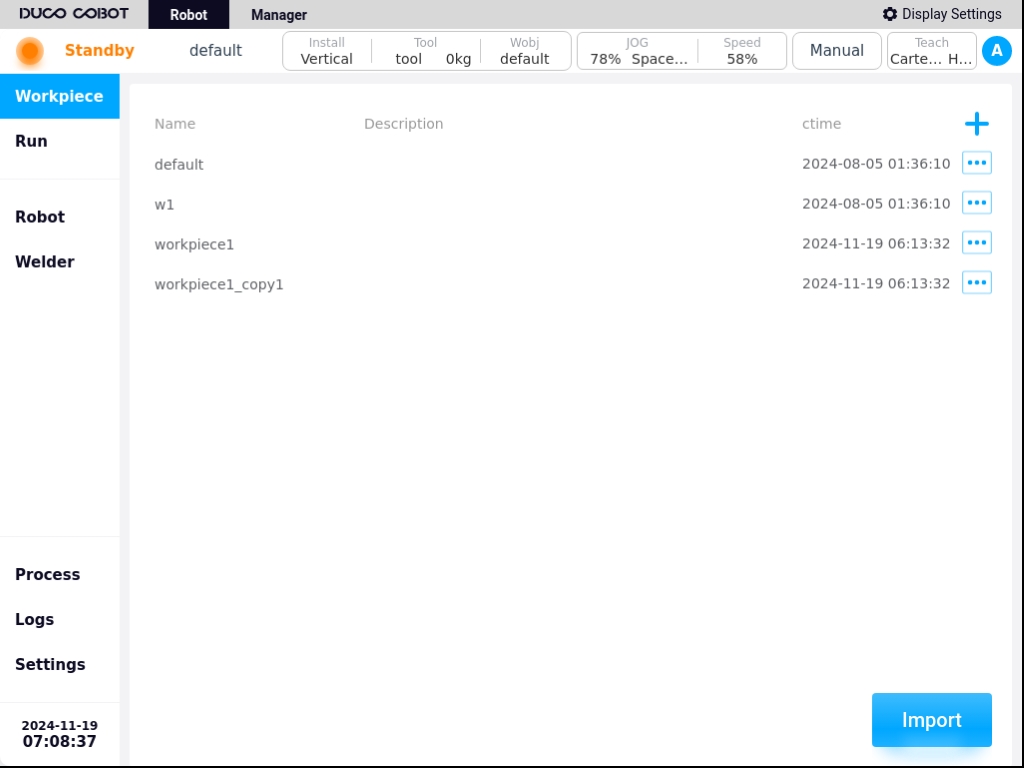
Click the keyboard “OK” button, you can add a successful, as shown below.

Click the operation icon of any artifact in the artifact list, and the popup window will be displayed as follows.
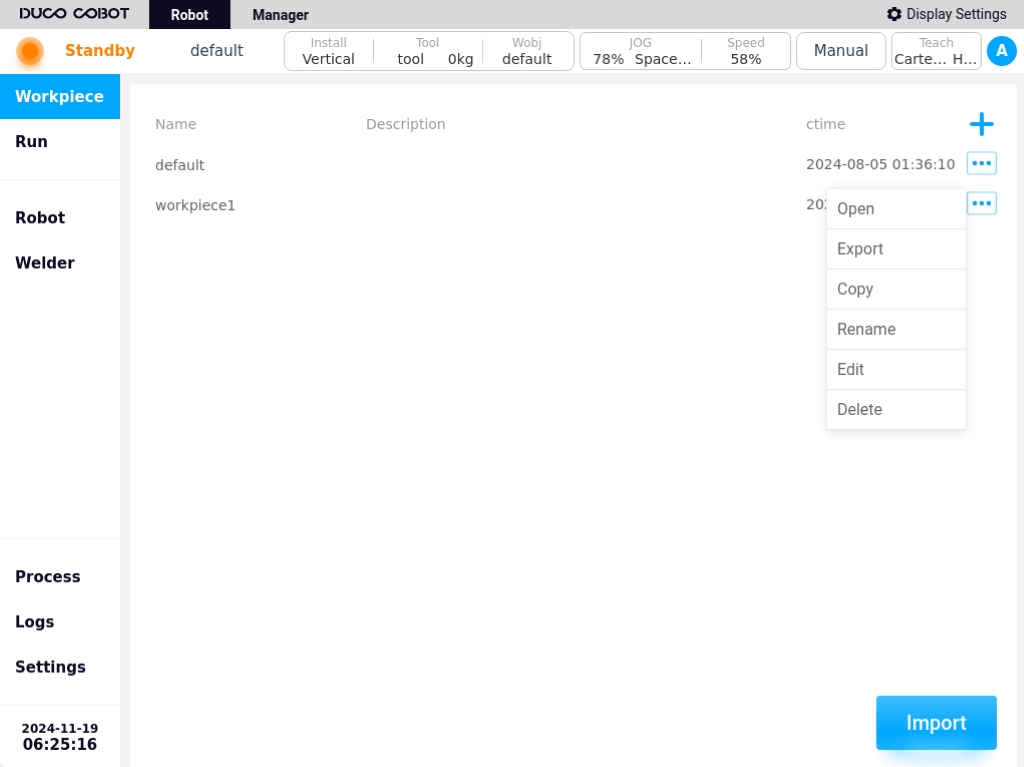
Workpiece operating functions:
Open: Clicking “Open” will bring up a dialog box, indicating that the currently used workpiece will be closed, and confirming whether to open the workpiece; Click the dialog box “Confirm” button will switch to the new workpiece, and the page will automatically jump to the welding execution page; click the dialog box “Cancel” button to close the dialog box.
Note
Note: The currently opened workpiece will be automatically set as the default workpiece to be opened next time the machine is turned on.
Export: Click “Export” to export the workpiece program to a USB flash drive.
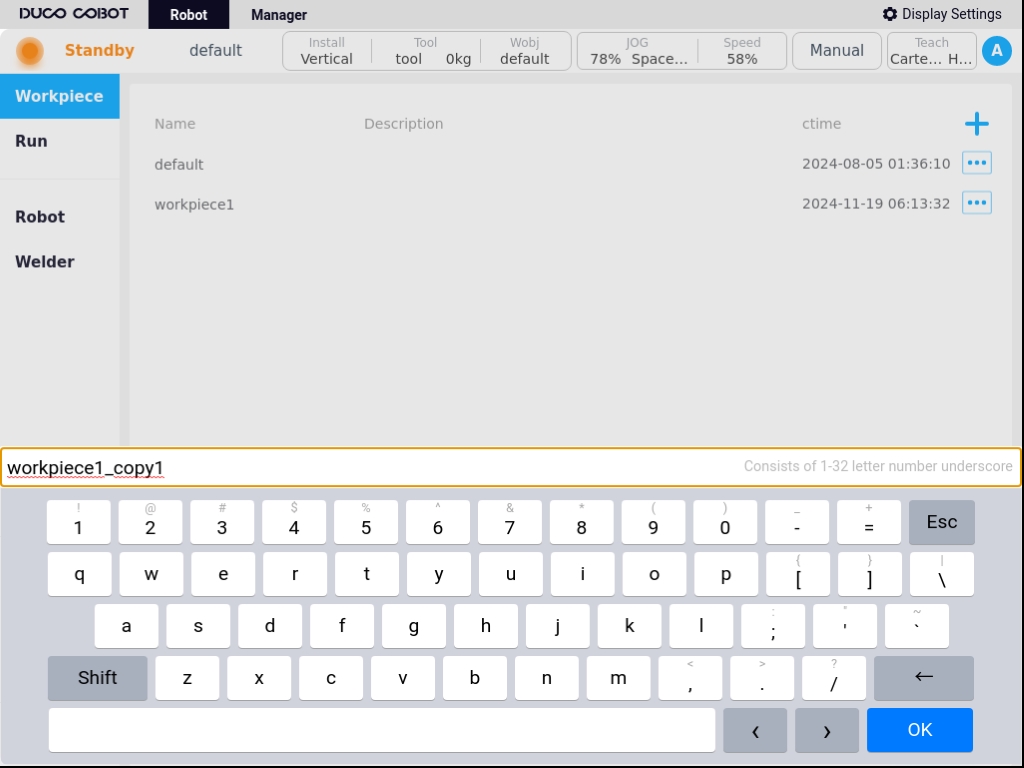
Copy: Clicking “Copy” will bring up the keyboard, and the name of the copied artifact will be suffixed with “_copyxx” by default, as shown below.Users can also modify and rename according to the artifact naming rules.
Click the keyboard “OK” button to copy successfully, the display is as follows.

Rename: Click “Rename” will pop up the keyboard, enter the new name of the artifact, then OK to modify.
Note
Note: Opened artifacts cannot be renamed.
Modify Description: Clicking on “Modify Description” brings up the keyboard to add descriptive text to the artifact.
Delete: Clicking “Delete” will bring up a confirmation dialog box, and the workpiece can be deleted after confirmation.
Note
Note: Opened artifacts cannot be deleted.
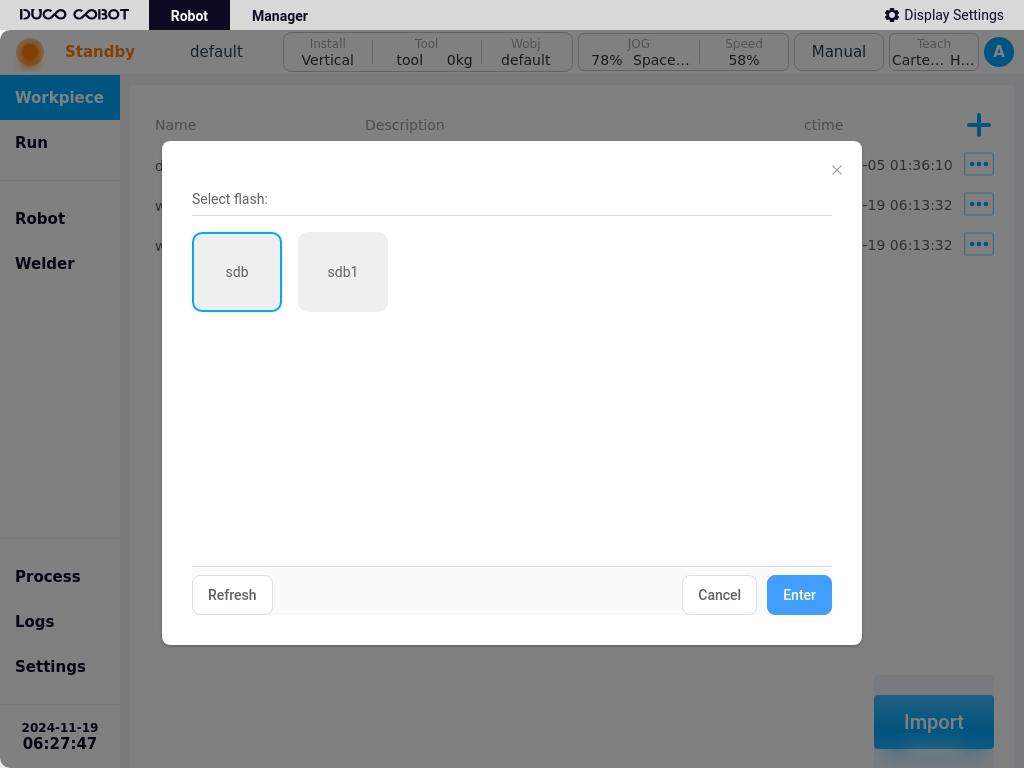
Click the “Import” button at the bottom right corner of the page to bring up a window showing the USB storage devices currently mounted on the control panel, as shown in the following figure.
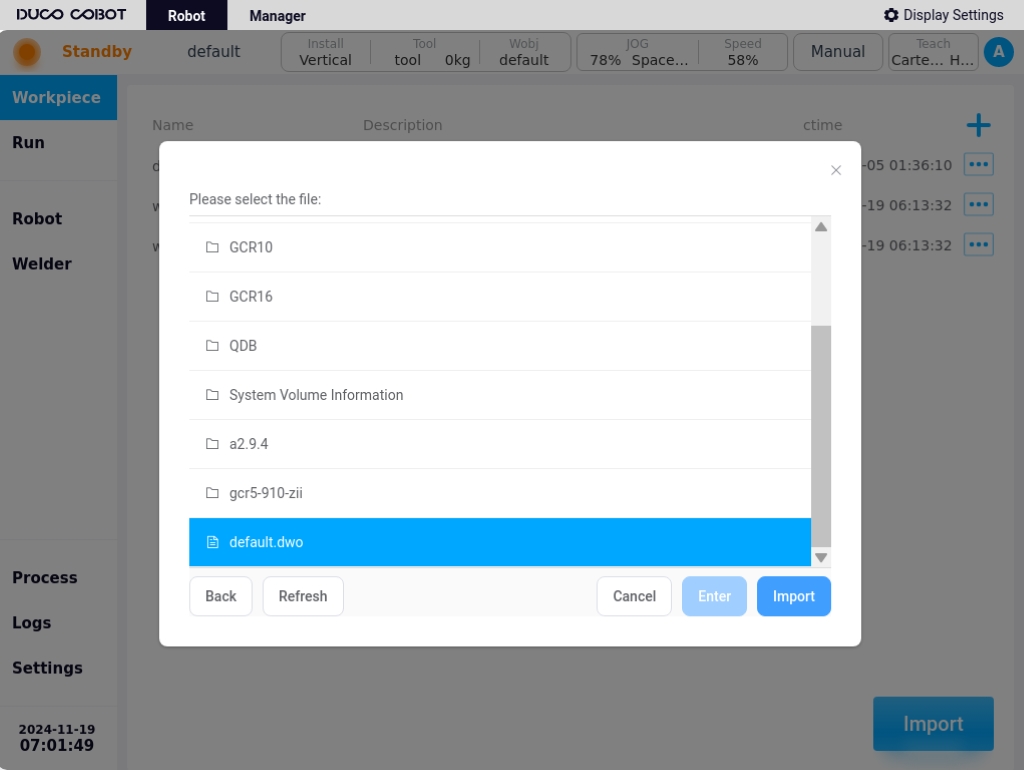
Select a device and the page displays the folders and eligible files (with dwo suffix) in that device, as shown in the following figure. Select a file.
Click on the “Import” button and the file will be imported into the control panel.
When importing a file and checking that the imported file is renamed to an artifact on the control cabinet, a rename prompt box will pop up as shown below.
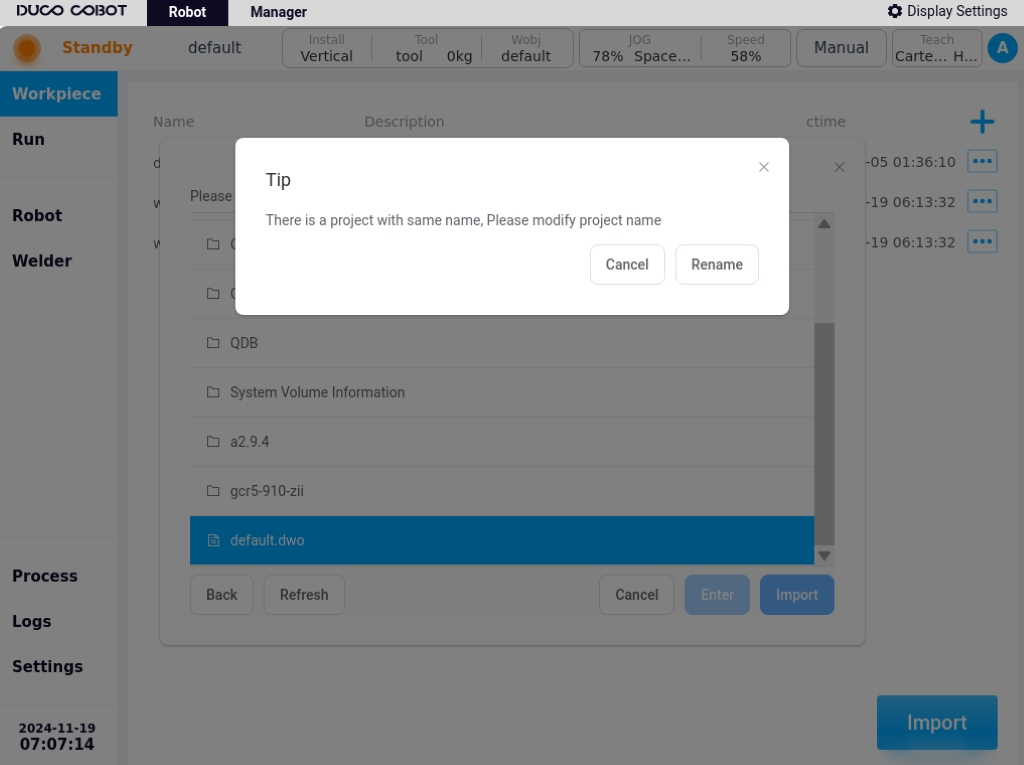
Click the “Change Import Name” button, the keyboard will pop up, enter the new name of the artifact, such as enter “w1”, after the import is successful, it will be displayed as below.