status line#
The interface header status bar is shown below:

Status indicators:
There are three indicator light colors: red, orange, and green. When the robot is not enabled or the welder is in an error state, the indicator is red; When the robot is enabled and the welder is ready, the indicator is orange; when the program is running, the indicator is green.
Status display:
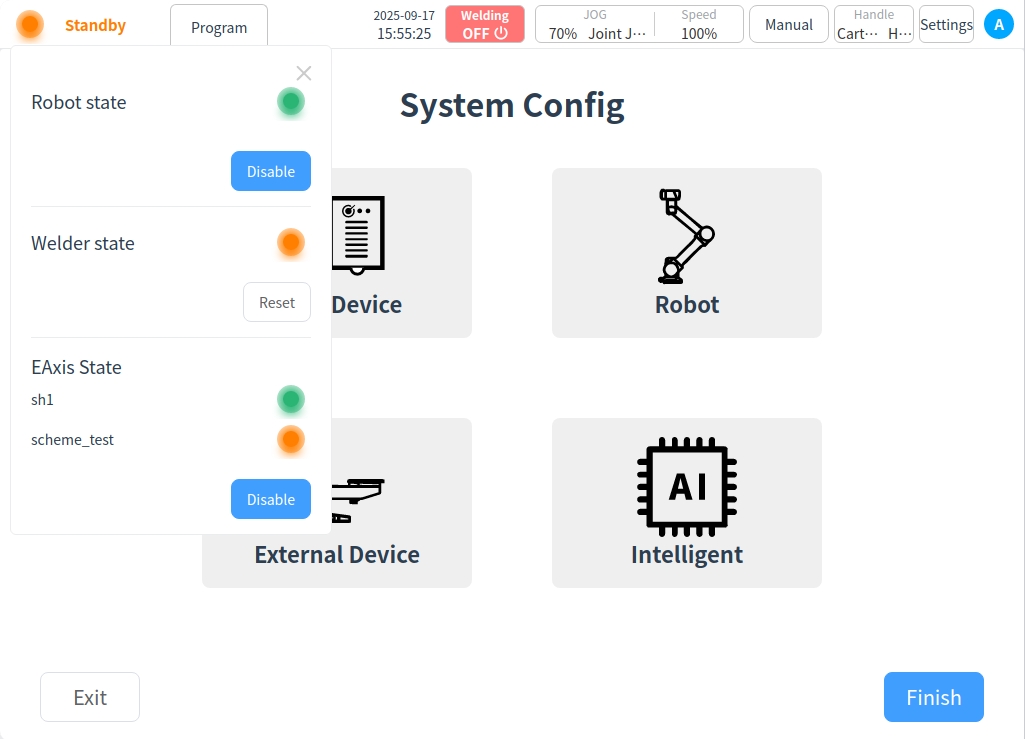
The status display words are: Robot Not Enabled, Welder Fault, Welding, Running, and Standby. By clicking on the status indicator or any area of the status display, a pop-up box will appear as follows. A pop-up box will appear as follows, allowing you to display or operate the robot status, welder power status, and external axis status.
Procedure:
Go to the program page button;
Welding:
Welding mode enable and disable toggle button. Red color indicates that the welder is currently in the welder not enabled state, green color indicates that the welder is currently in the welder enabled state;
JOG speed/type:
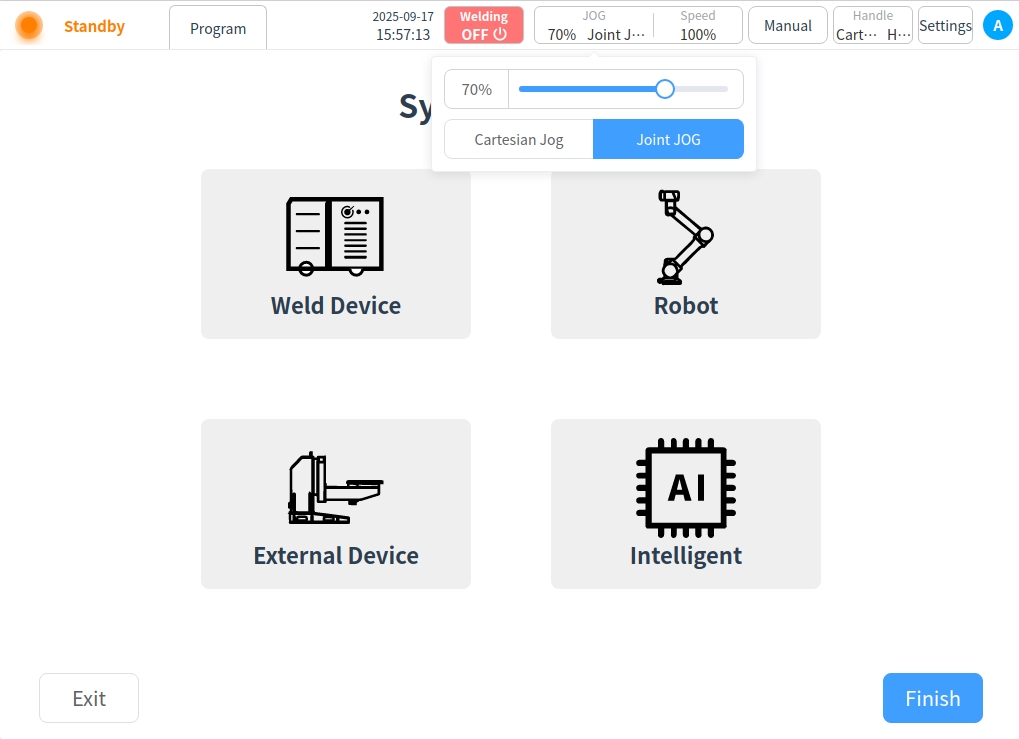
Displays the robot’s current JOG speed percentage or JOG type, i.e., Articulated JOG or Spatial JOG. clicking on the JOG display area displays a pop-up box showing the JOG speed adjustment slider and the JOG type selection button, which allows you to adjust the JOG speed or manual input, as well as to switch between spatial JOG or articulated JOG.
Global speed:
Displays the percentage of the robot’s current global speed. Click the Speed Display box to display the Speed Adjustment slider, which allows you to adjust the global speed or enter it manually.

Mode of operation:
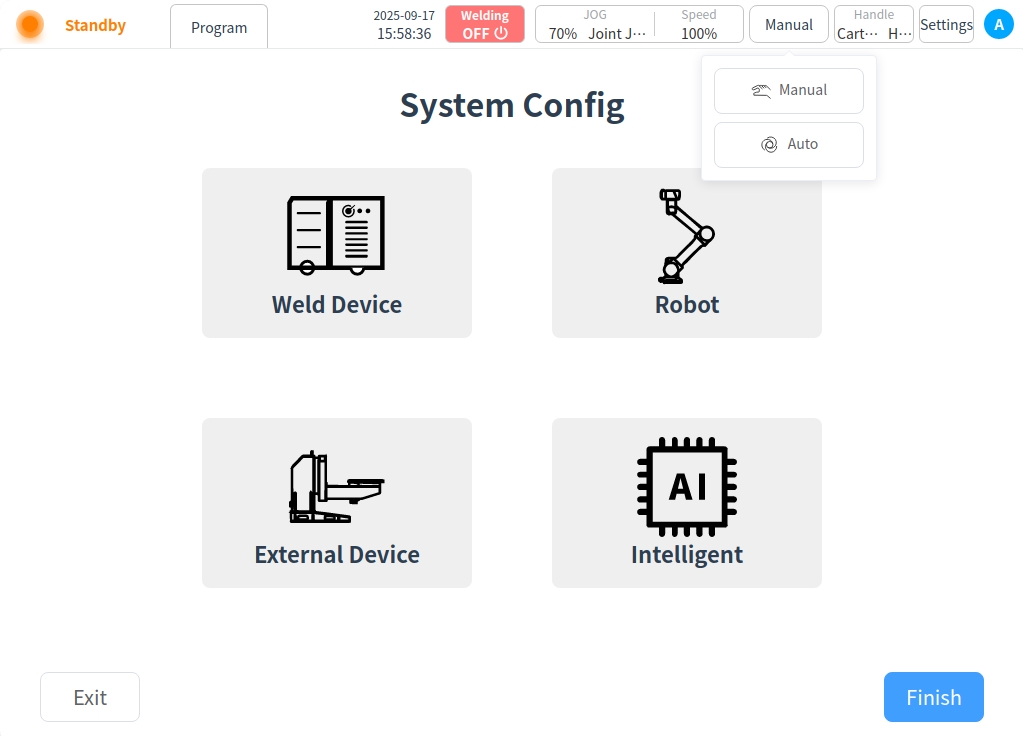
Displays the robot operation modes, which are divided into Manual Mode and Auto Mode. When you click this display box, a popup box containing buttons for manual mode and automatic mode is displayed. The operation mode can be switched by clicking the corresponding button. When the user switches between manual/automatic mode, the user needs to enter the correct password before switching modes.
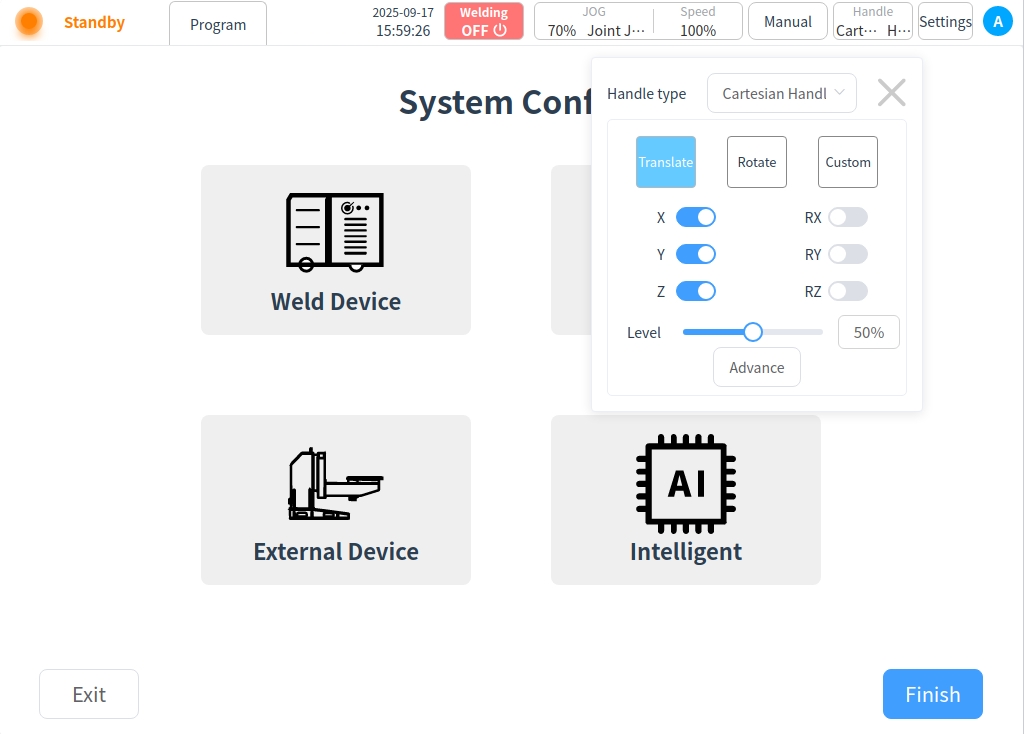
Traction mode: Displays the currently active mode when using the joystick. Includes Articular Traction/Cartesian Traction; High Speed Traction/Low Speed Traction. The user can use the button on the handle to switch the mode used.
Clicking on this area will bring up the traction control window. From this window, the user can adjust the type, direction, and softness of the tow.
Setting:
Go to the Settings page button.
User avatar:
The default login to the craft kit is normal mode and clicking on the user’s avatar displays the pop-up window shown below.
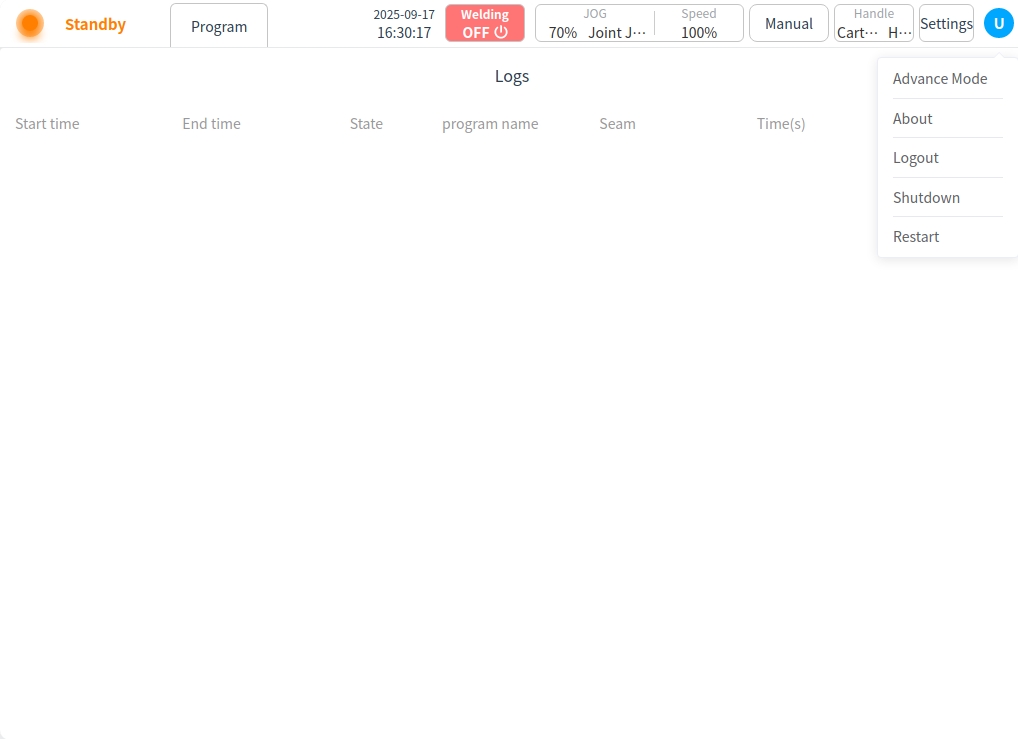
To switch to Advanced Mode: Clicking Enter Password will enter Advanced Mode;
About: Displays information about the robot model, software version, and process package version;
Logout: Click to return to the Welding Process Kit v3 startup page;
Reboot: Clicking while the robot is powered off will bring up a dialog box confirming the shutdown of the system; while the robot is not powered off it will prompt to power off first;
Shutdown: When the robot is powered off, clicking will bring up a dialog box confirming the restart of the system; when the robot is not powered off, it will prompt to power off first;
In advanced mode, clicking on the user’s avatar displays the image shown below.
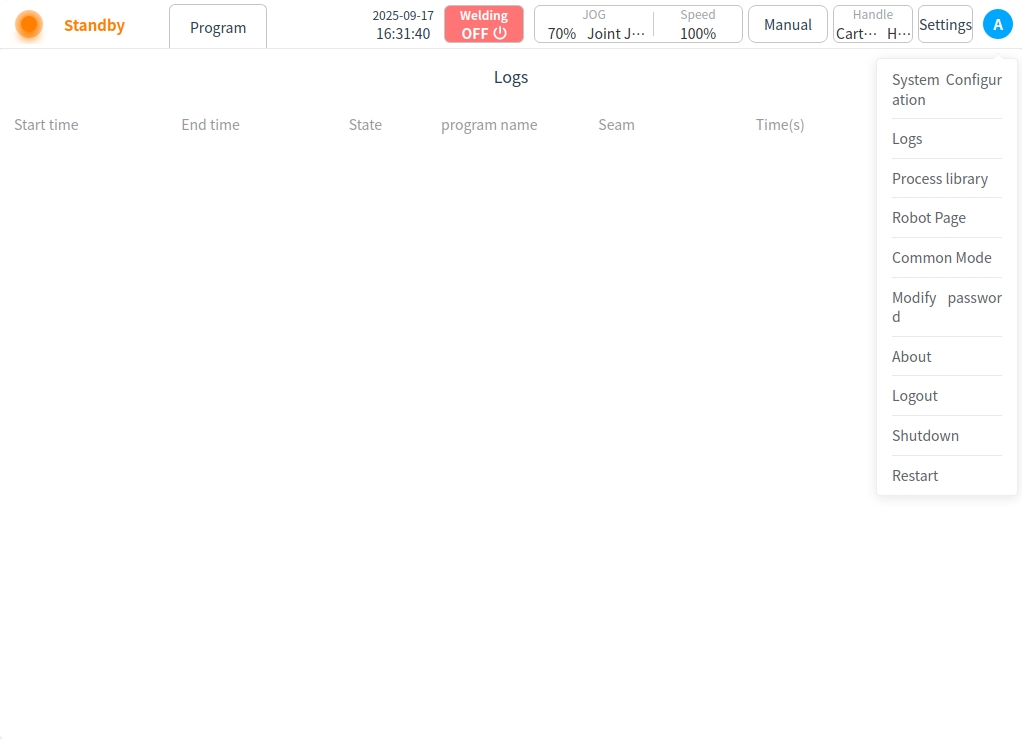
System Configuration: Click to go directly to the System Configuration page;
Logs: Click to go directly to the Logs page;
Process Library: Click to go directly to the Process Library page;
To switch the normal mode: Click to go directly to the advanced mode;
About, logout, shutdown, and restart functions are the same as those in normal mode.
Functions specific to Advanced Mode:
Back to Robotics: Click to go directly to the Robotics System page;
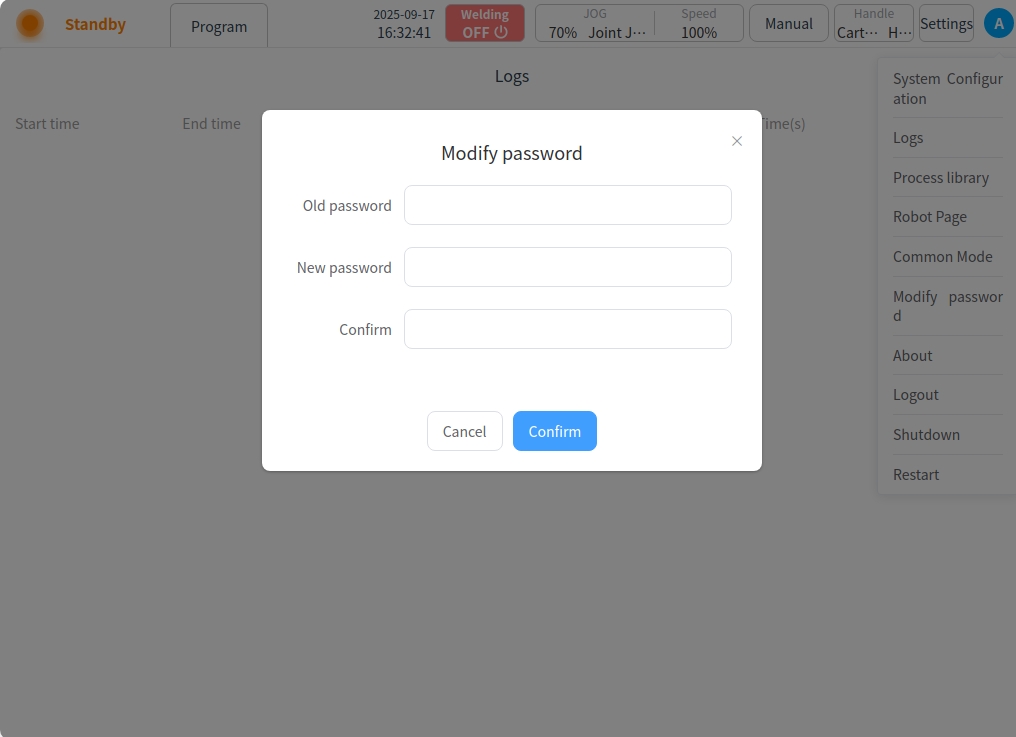
Change Password: Click to bring up a dialog box to change your password;